

The Oldest Known Curta
(since April 22, 1997) Last Update: September 02, 2021 -- THE CURTA REFERENCE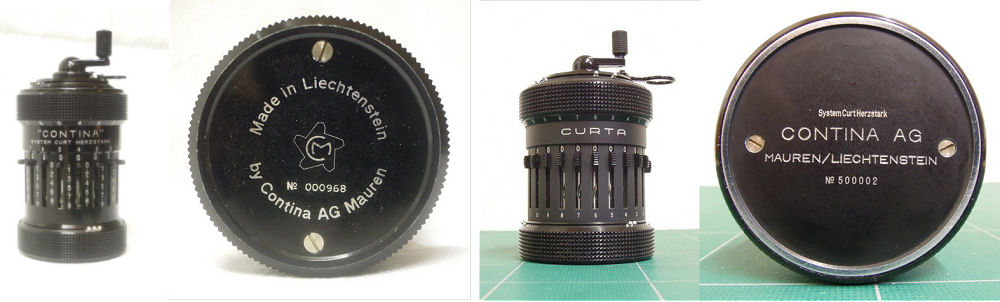
INDEX
Type Is
000968 , 000978 , 001914 , 001978 , 002029 , 002044 , 002049 , 002096 , 002096 , 002096 ,Type IIs
500002 , 500008 , 500025 , 500088My Oldest Type I (002185)
It's history and restoration
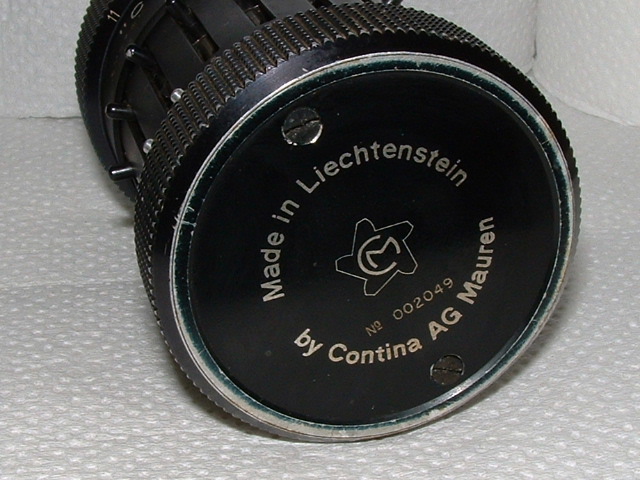
002185OLDEST TYPE I's
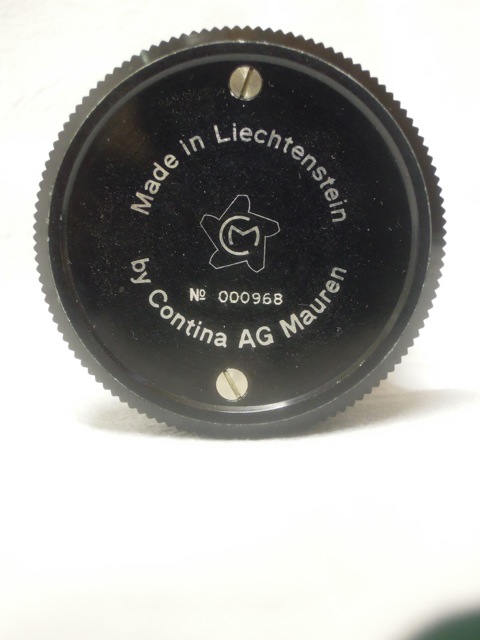
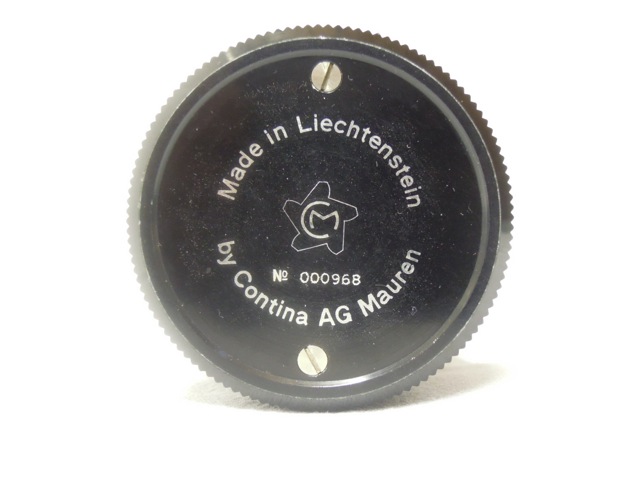
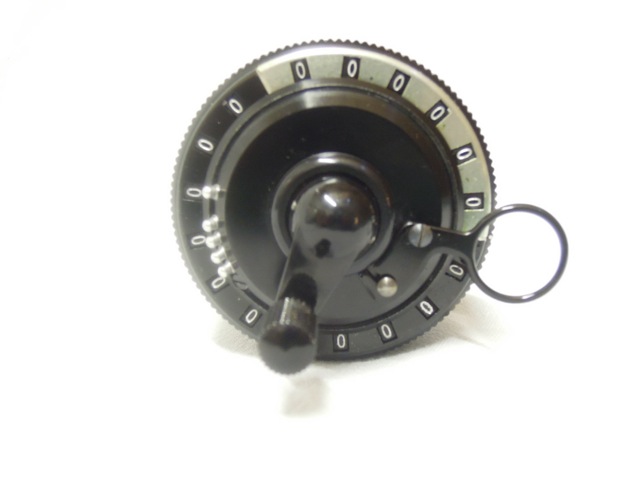
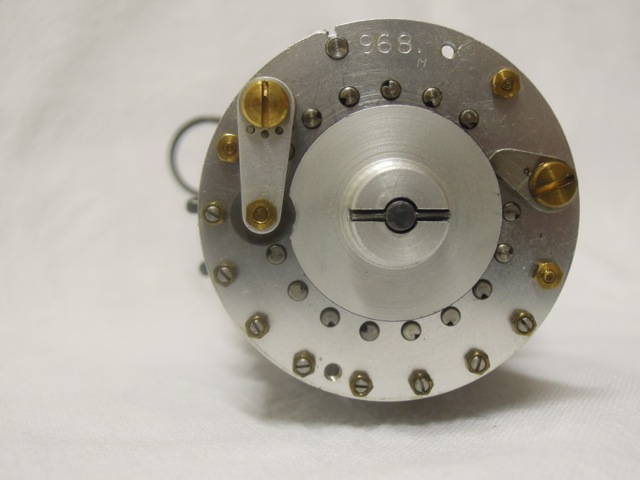
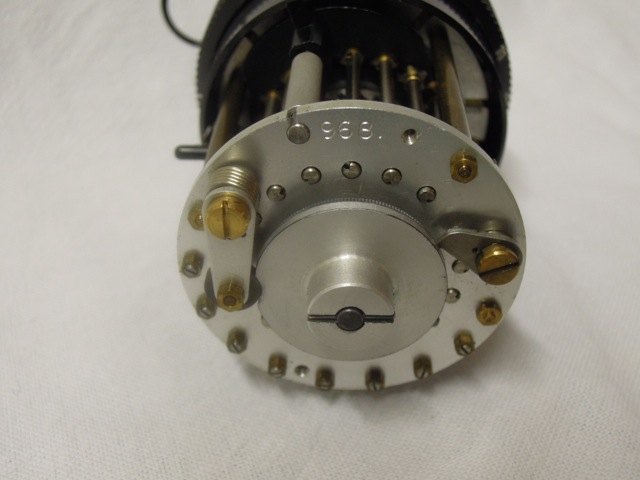
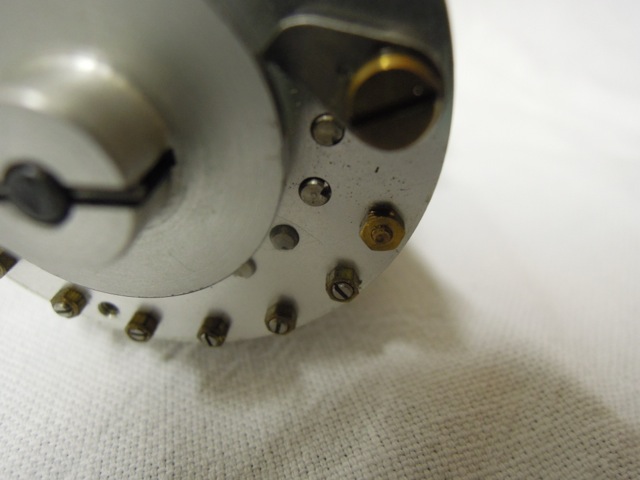
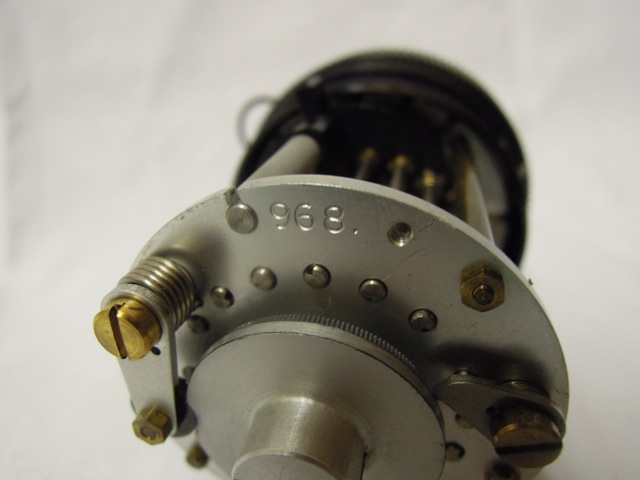
The Oldest Type I (000968)


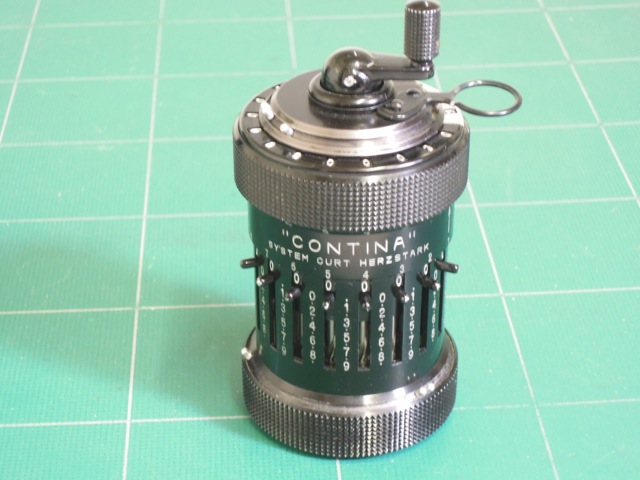
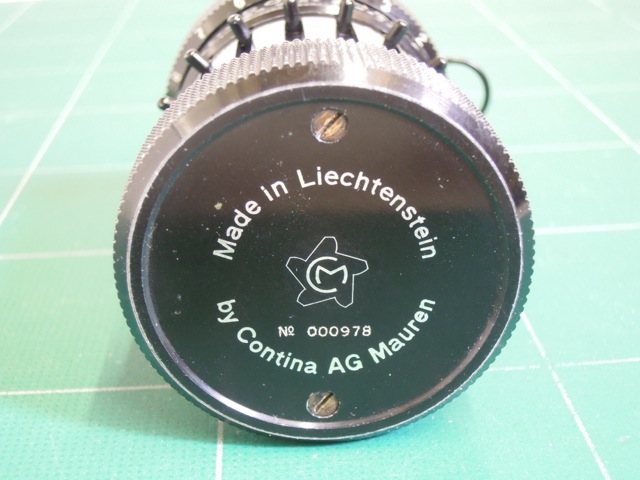
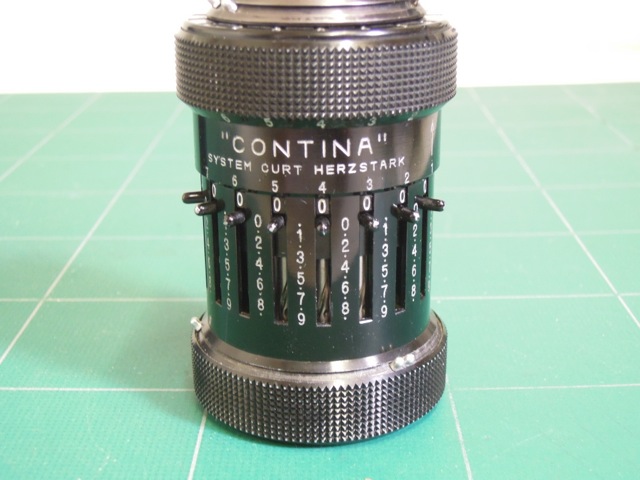
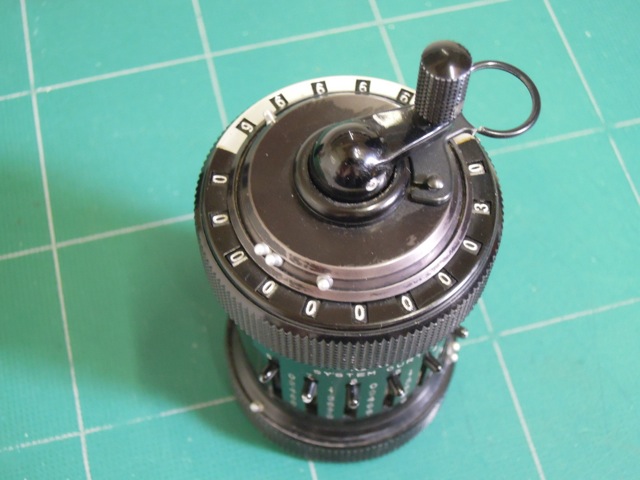
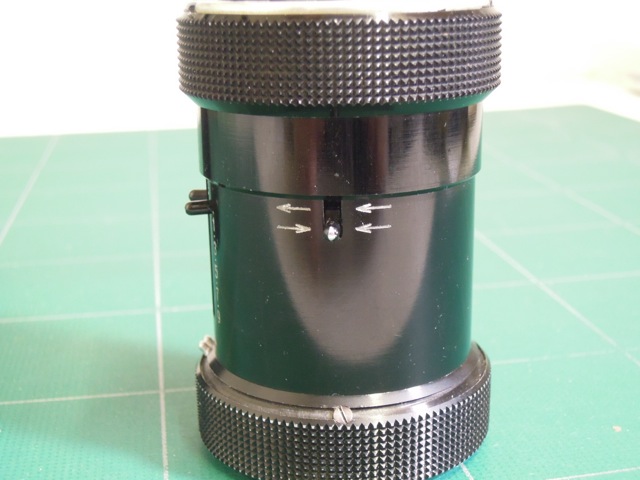
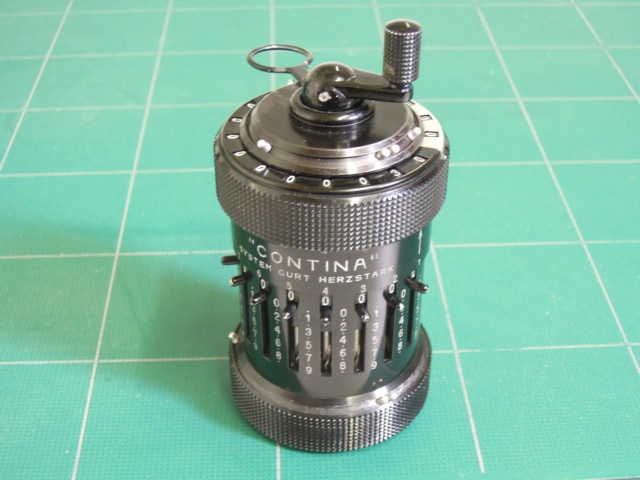
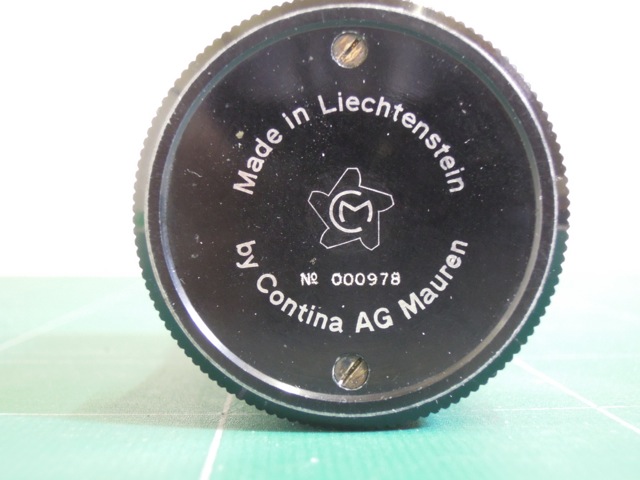
Type I (000978)
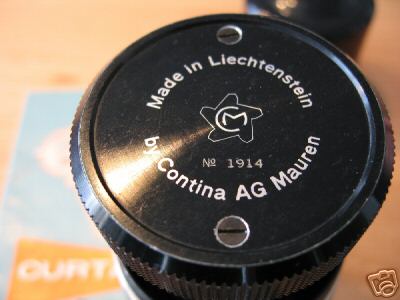
Type I (001914)
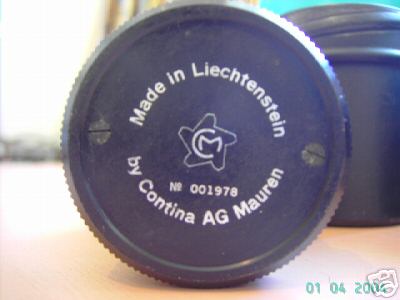
Type I (001978)

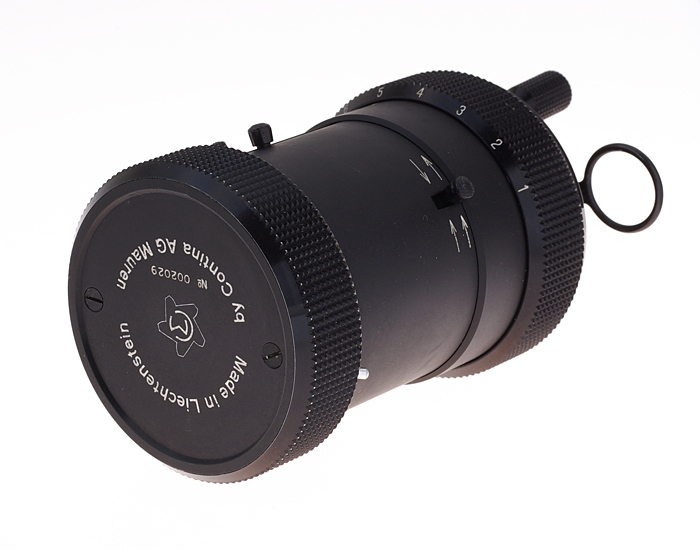
Type I (002029)
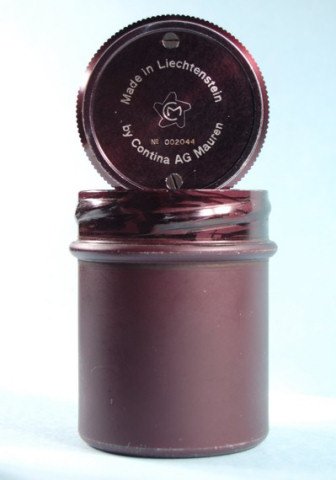
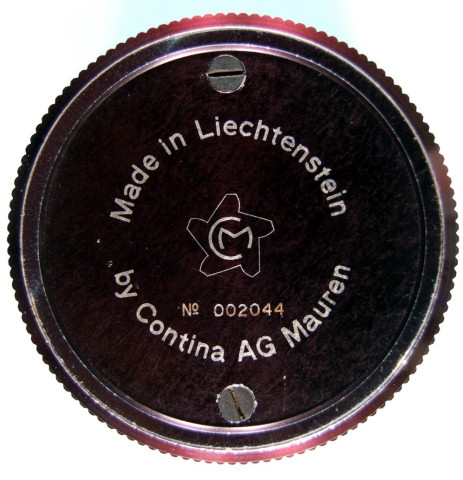
Type I (002044)


Type I (002049)
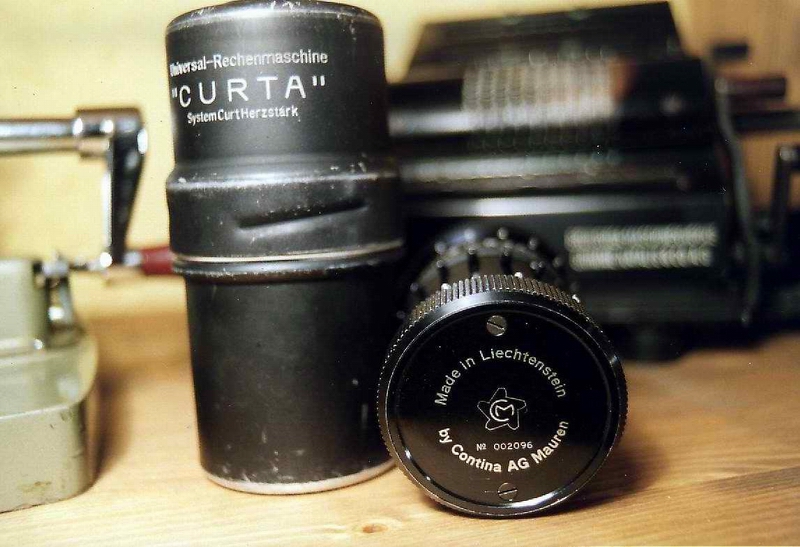
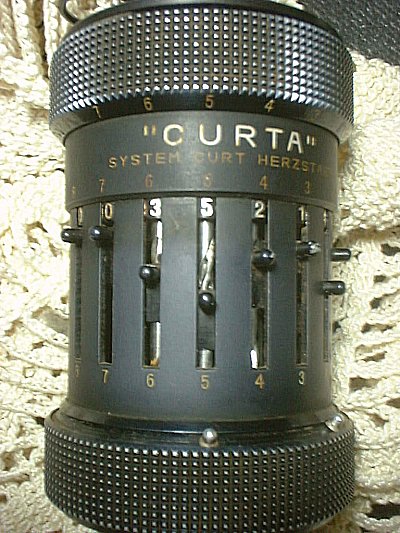
Type I (002096)

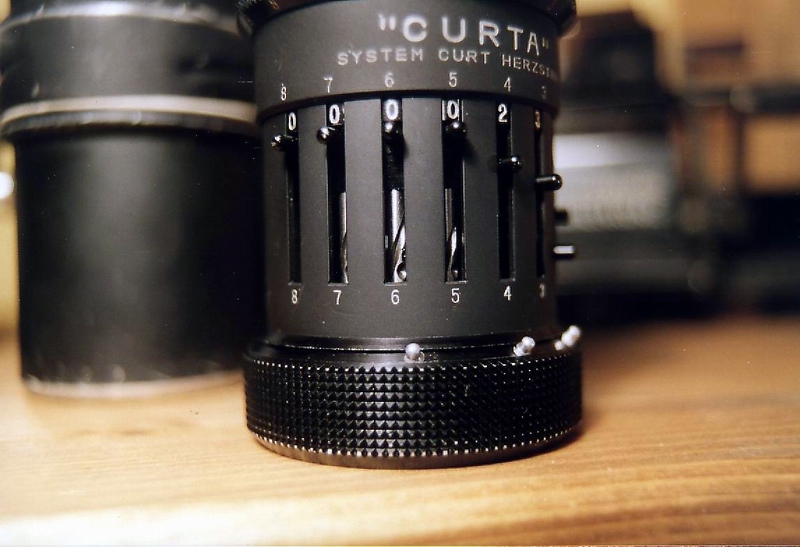
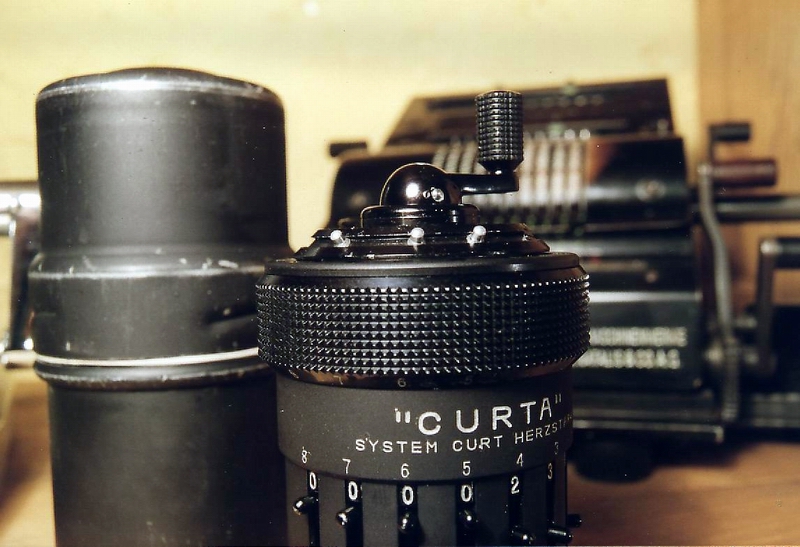
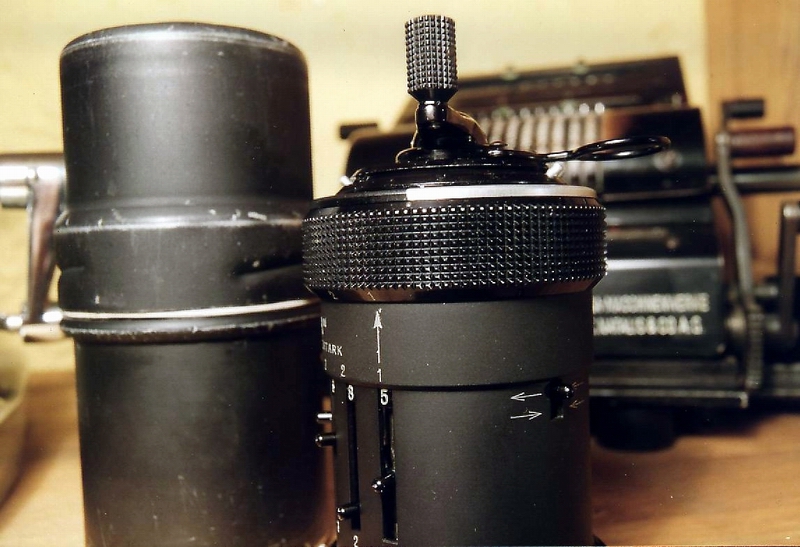
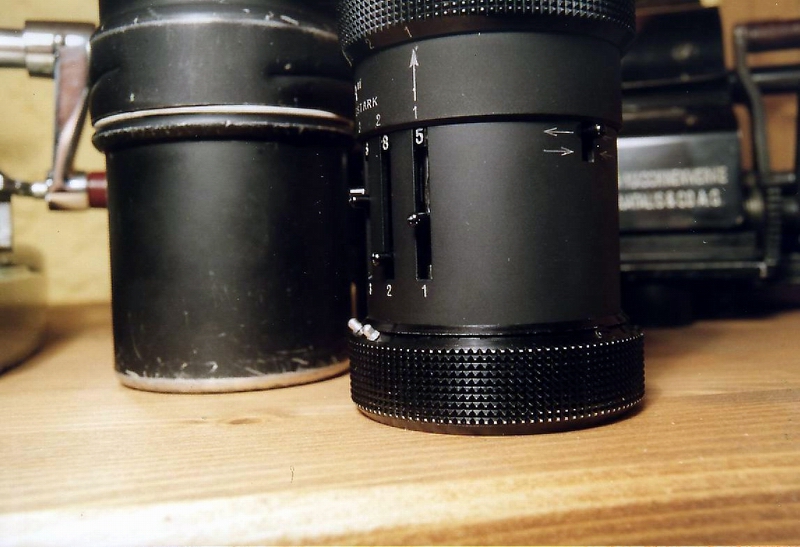
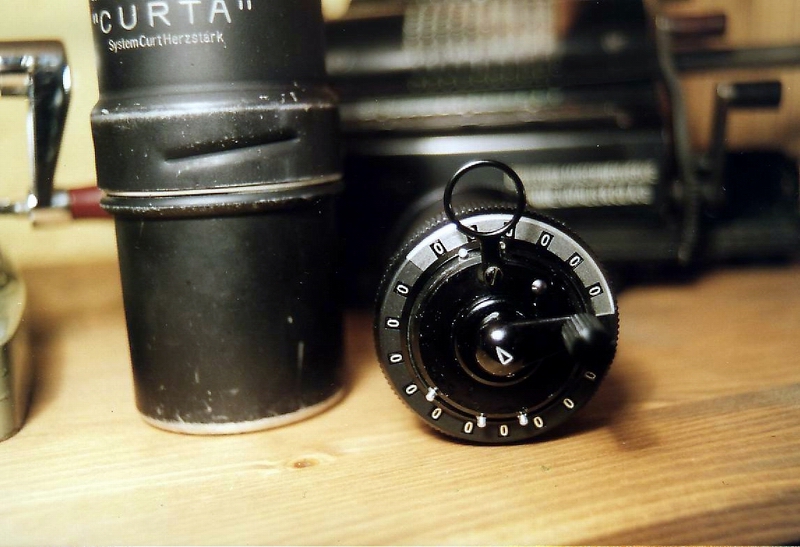
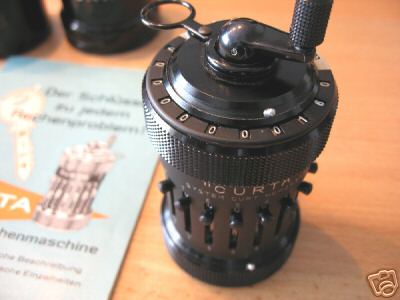
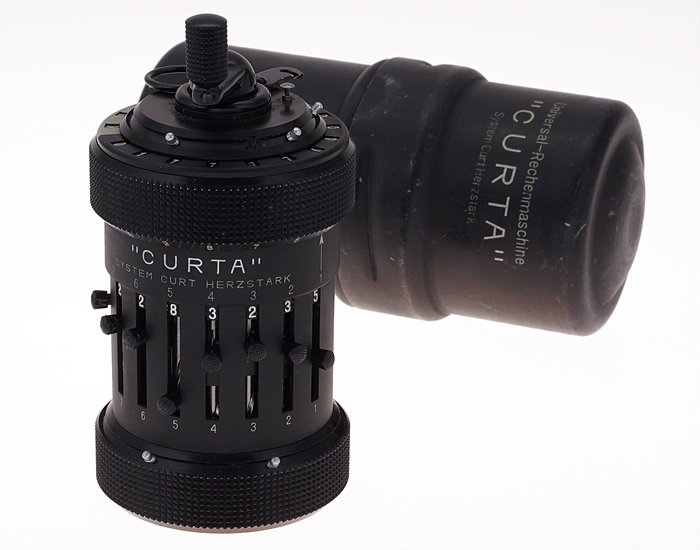
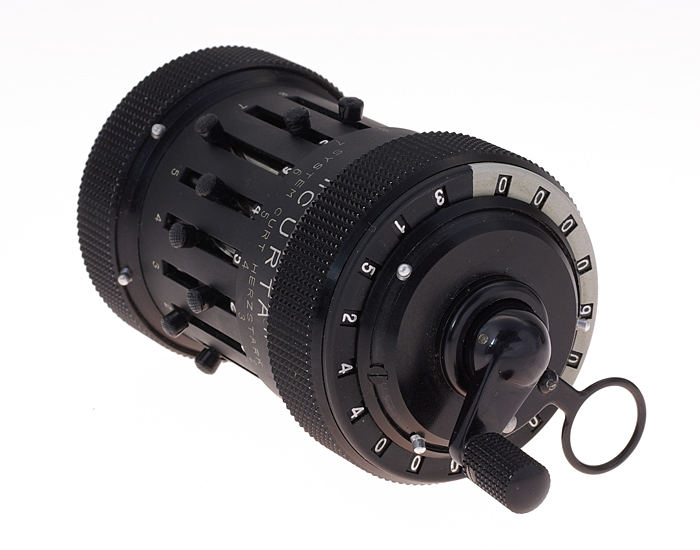
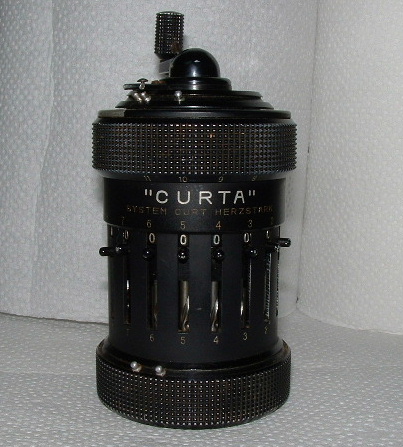
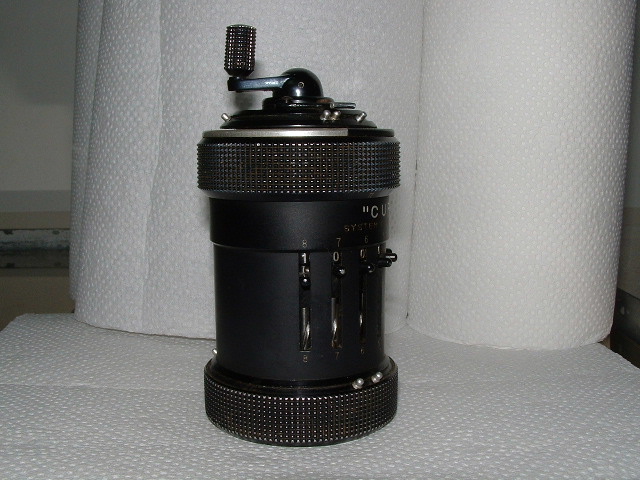
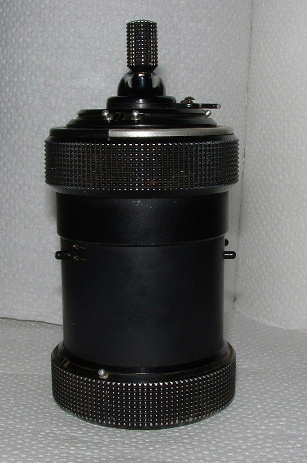
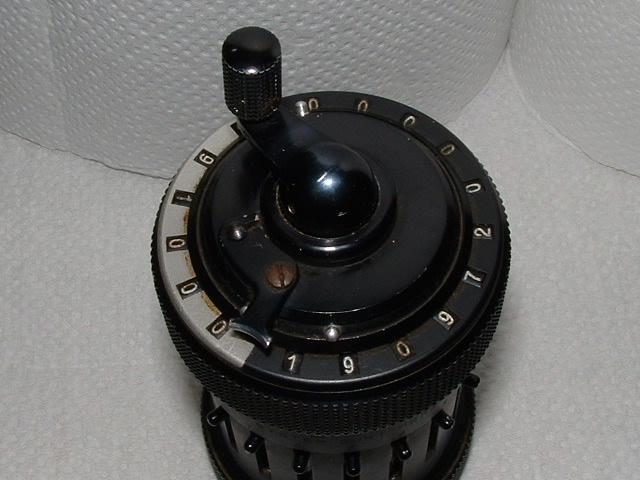
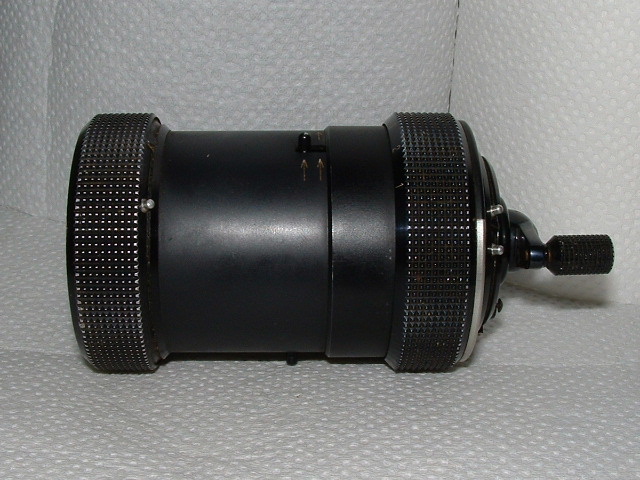
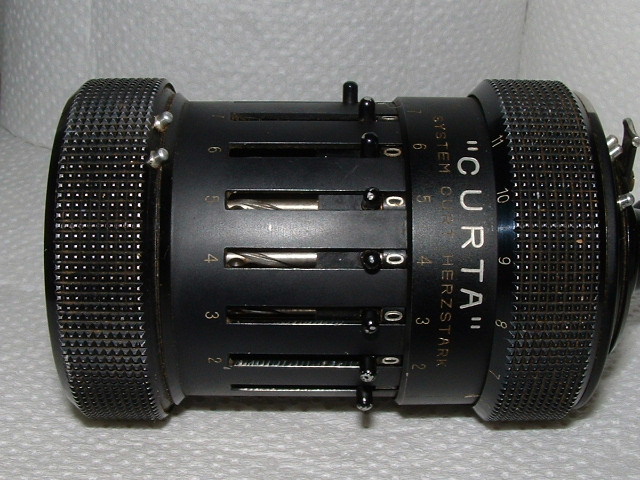
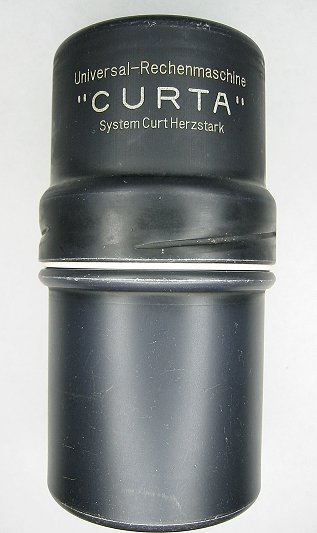
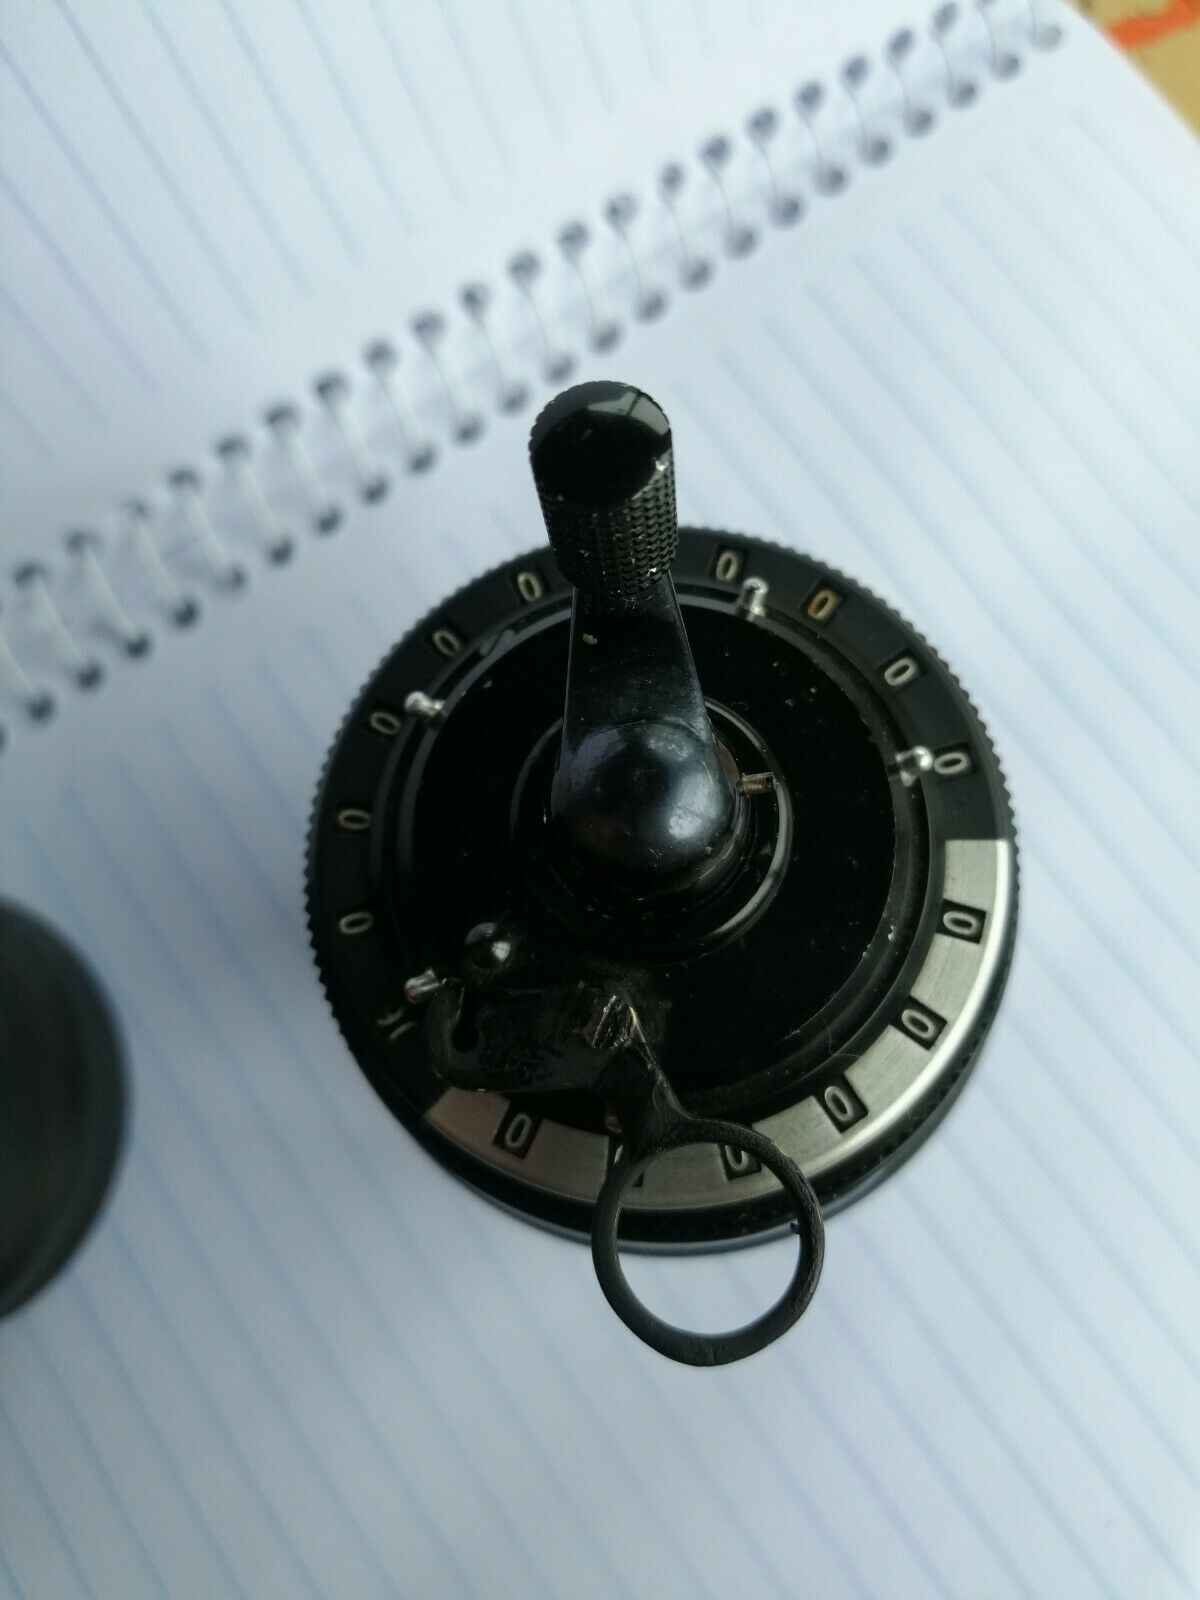
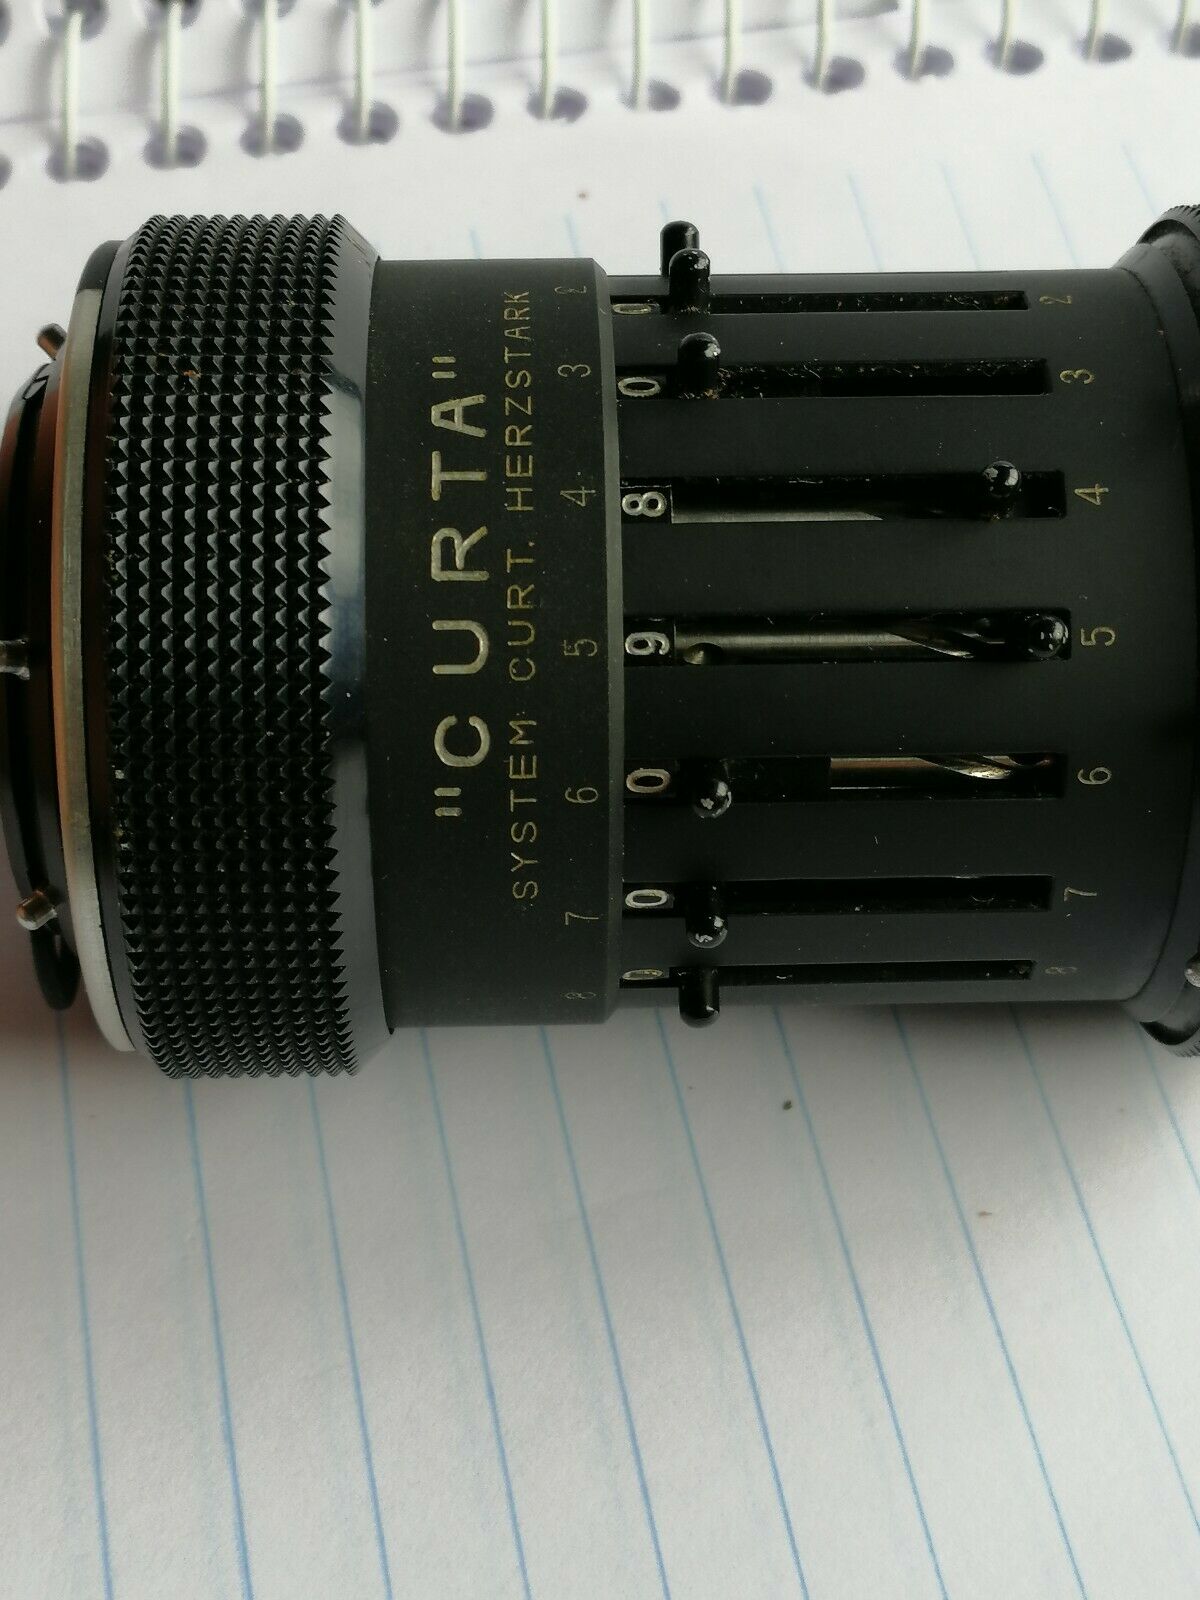
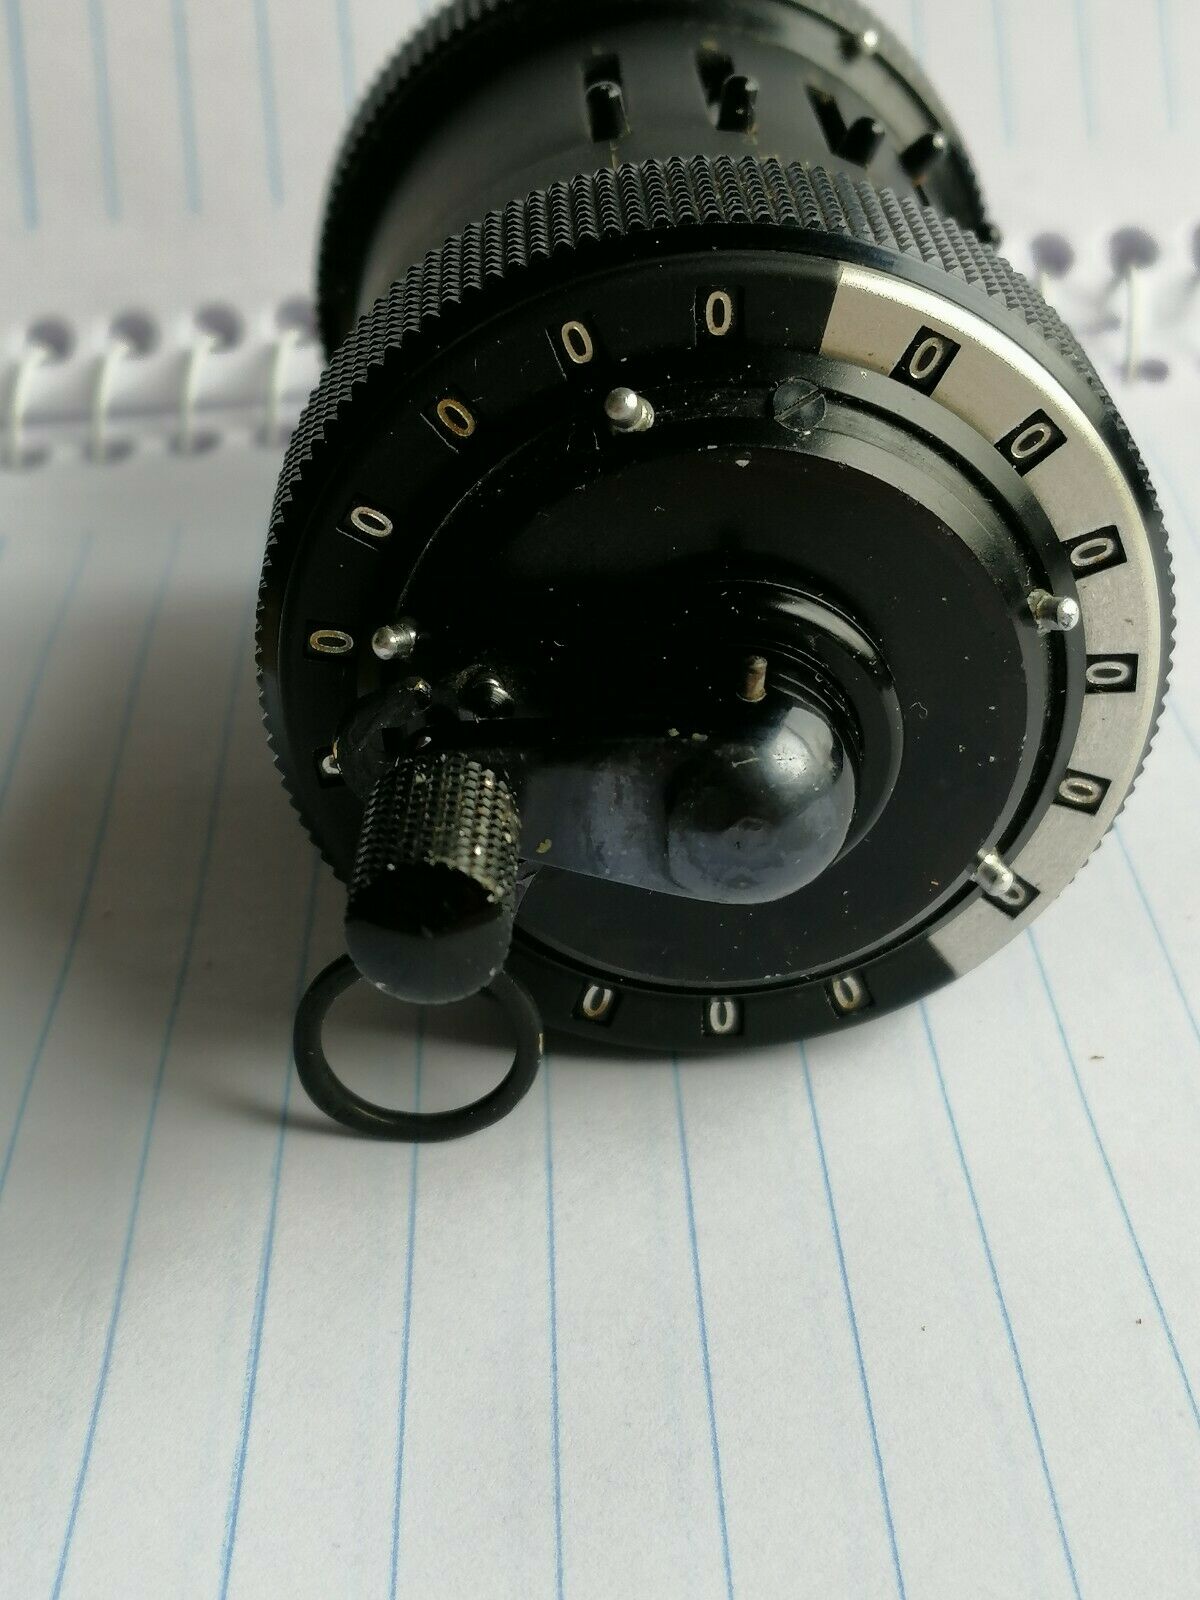
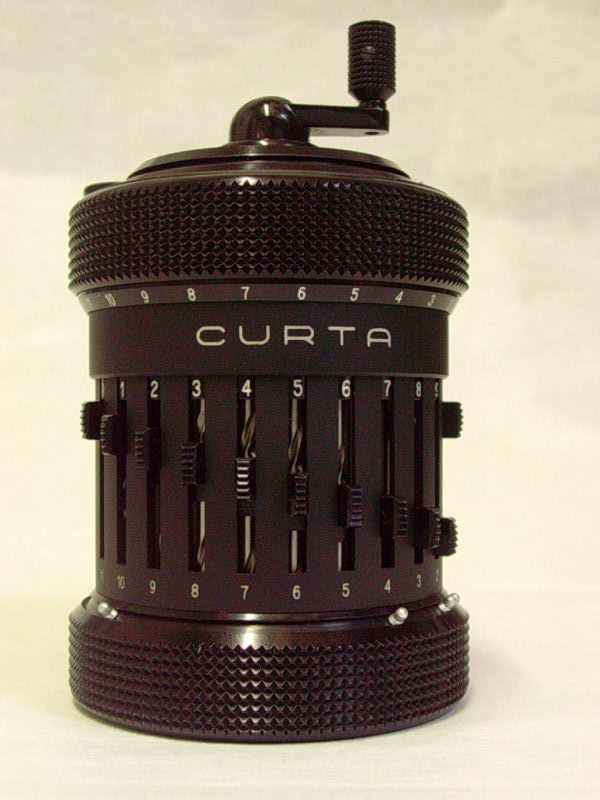
My Oldest Type I (002185)
And the history and restoration of it
|
|
|
|
|
|
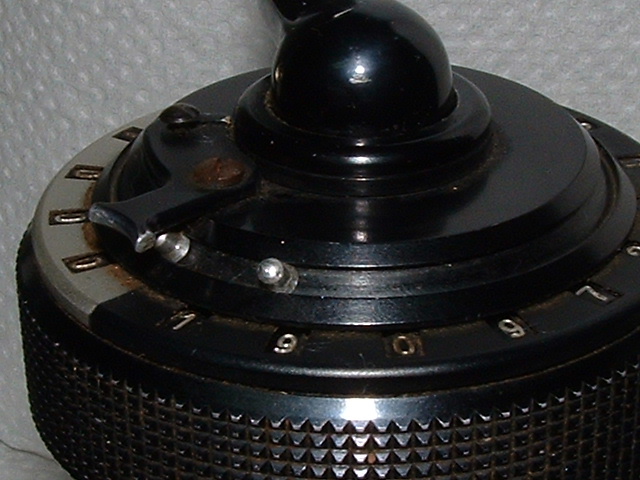
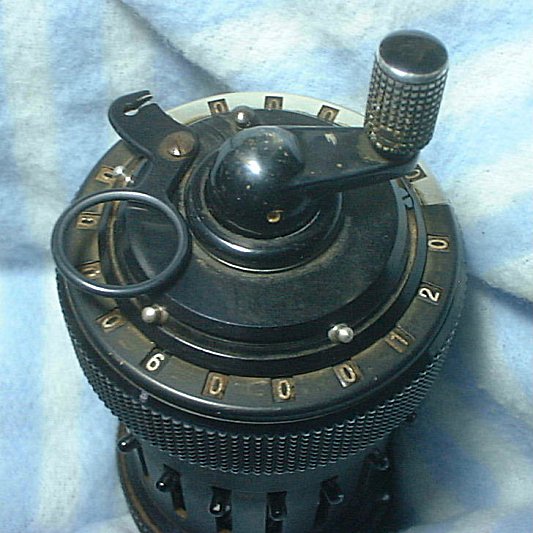
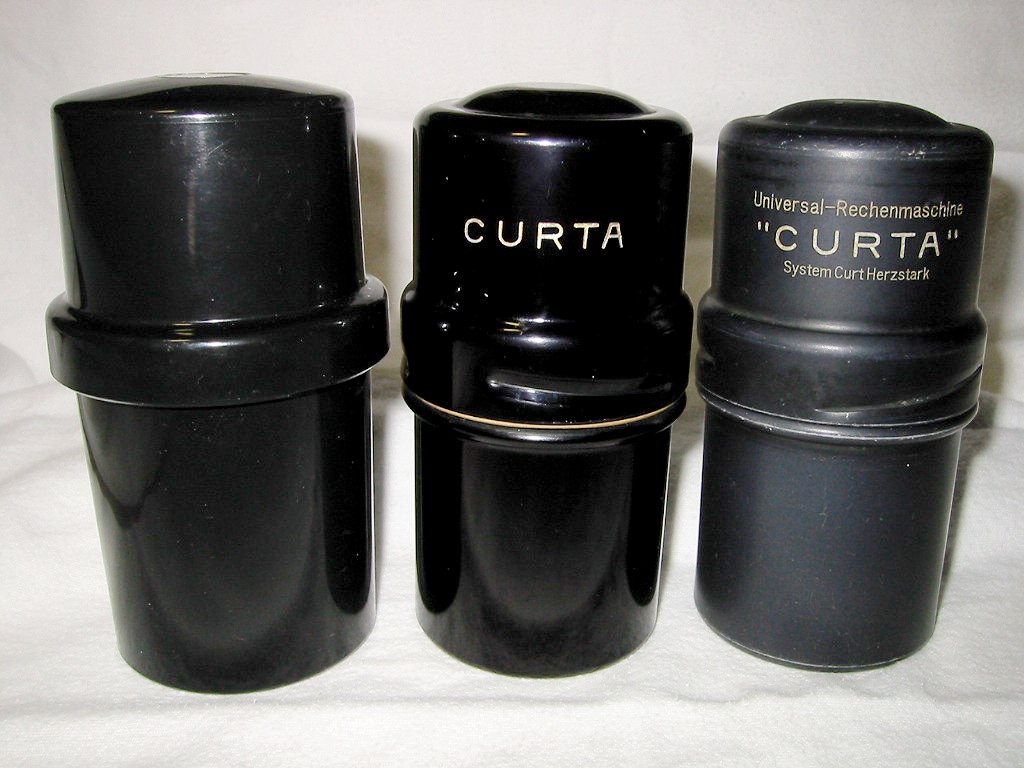
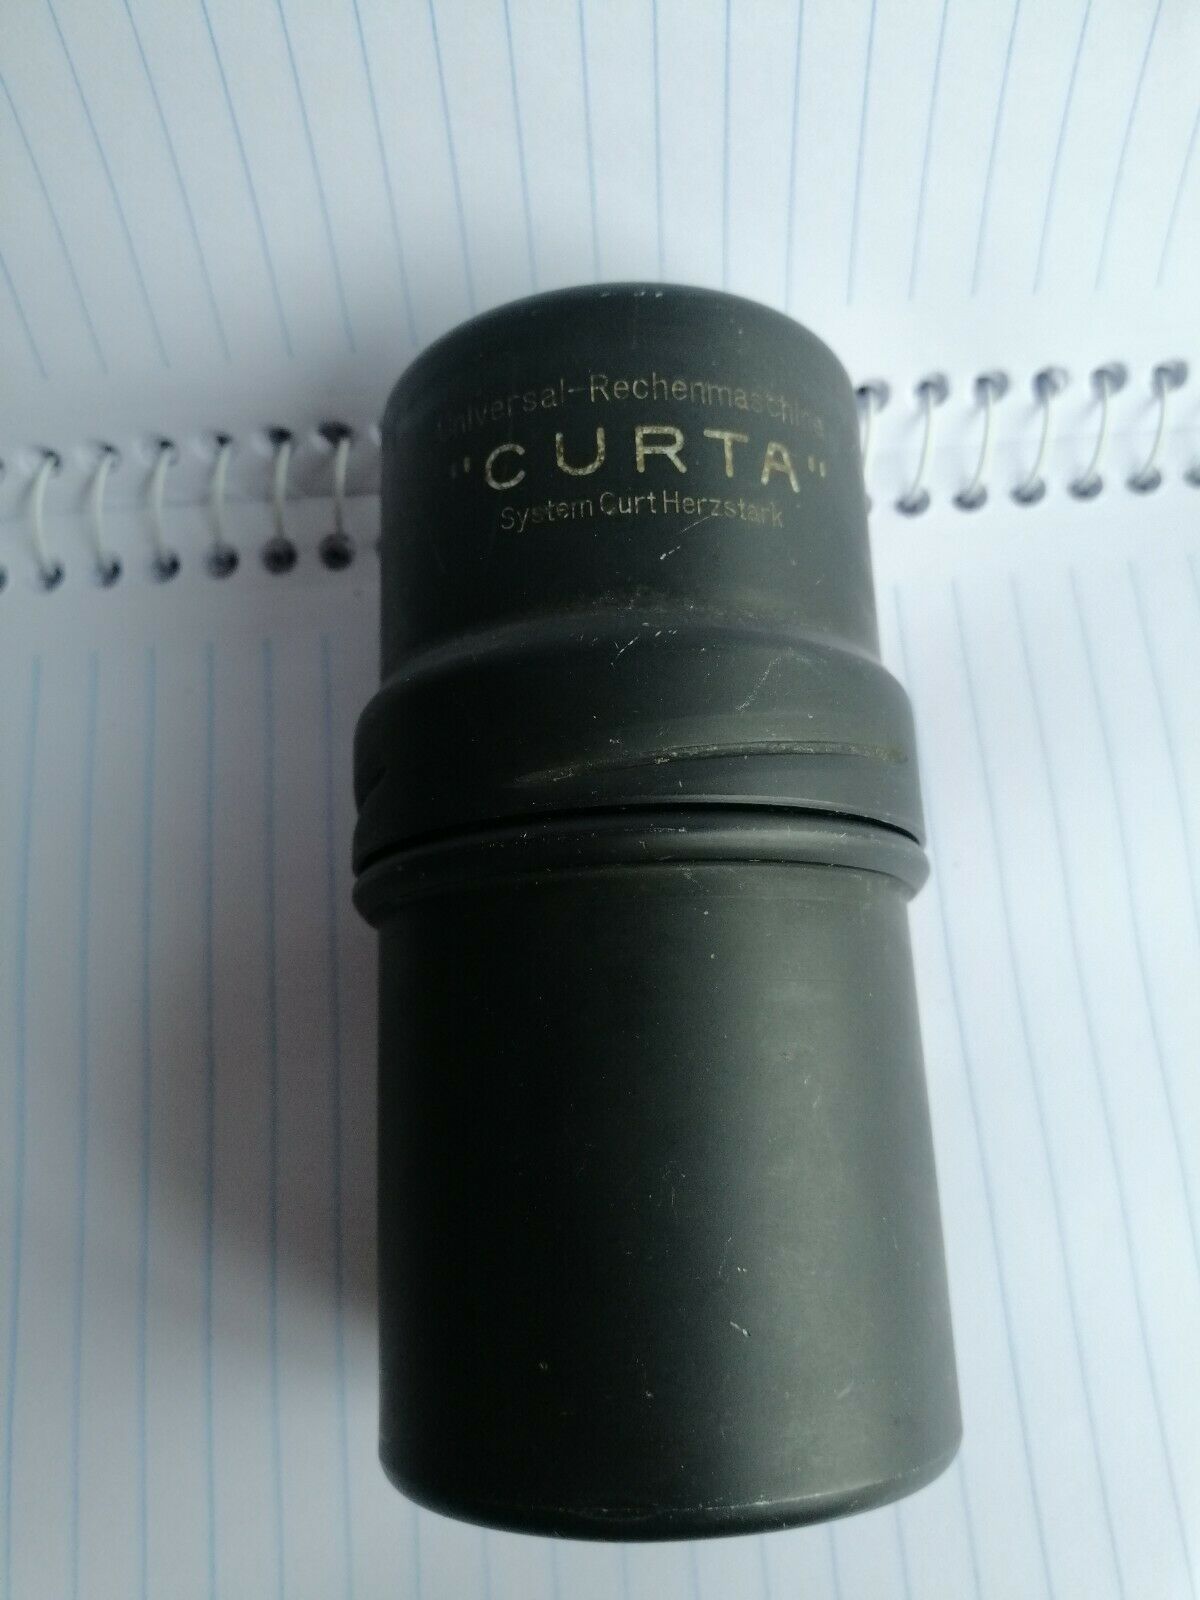
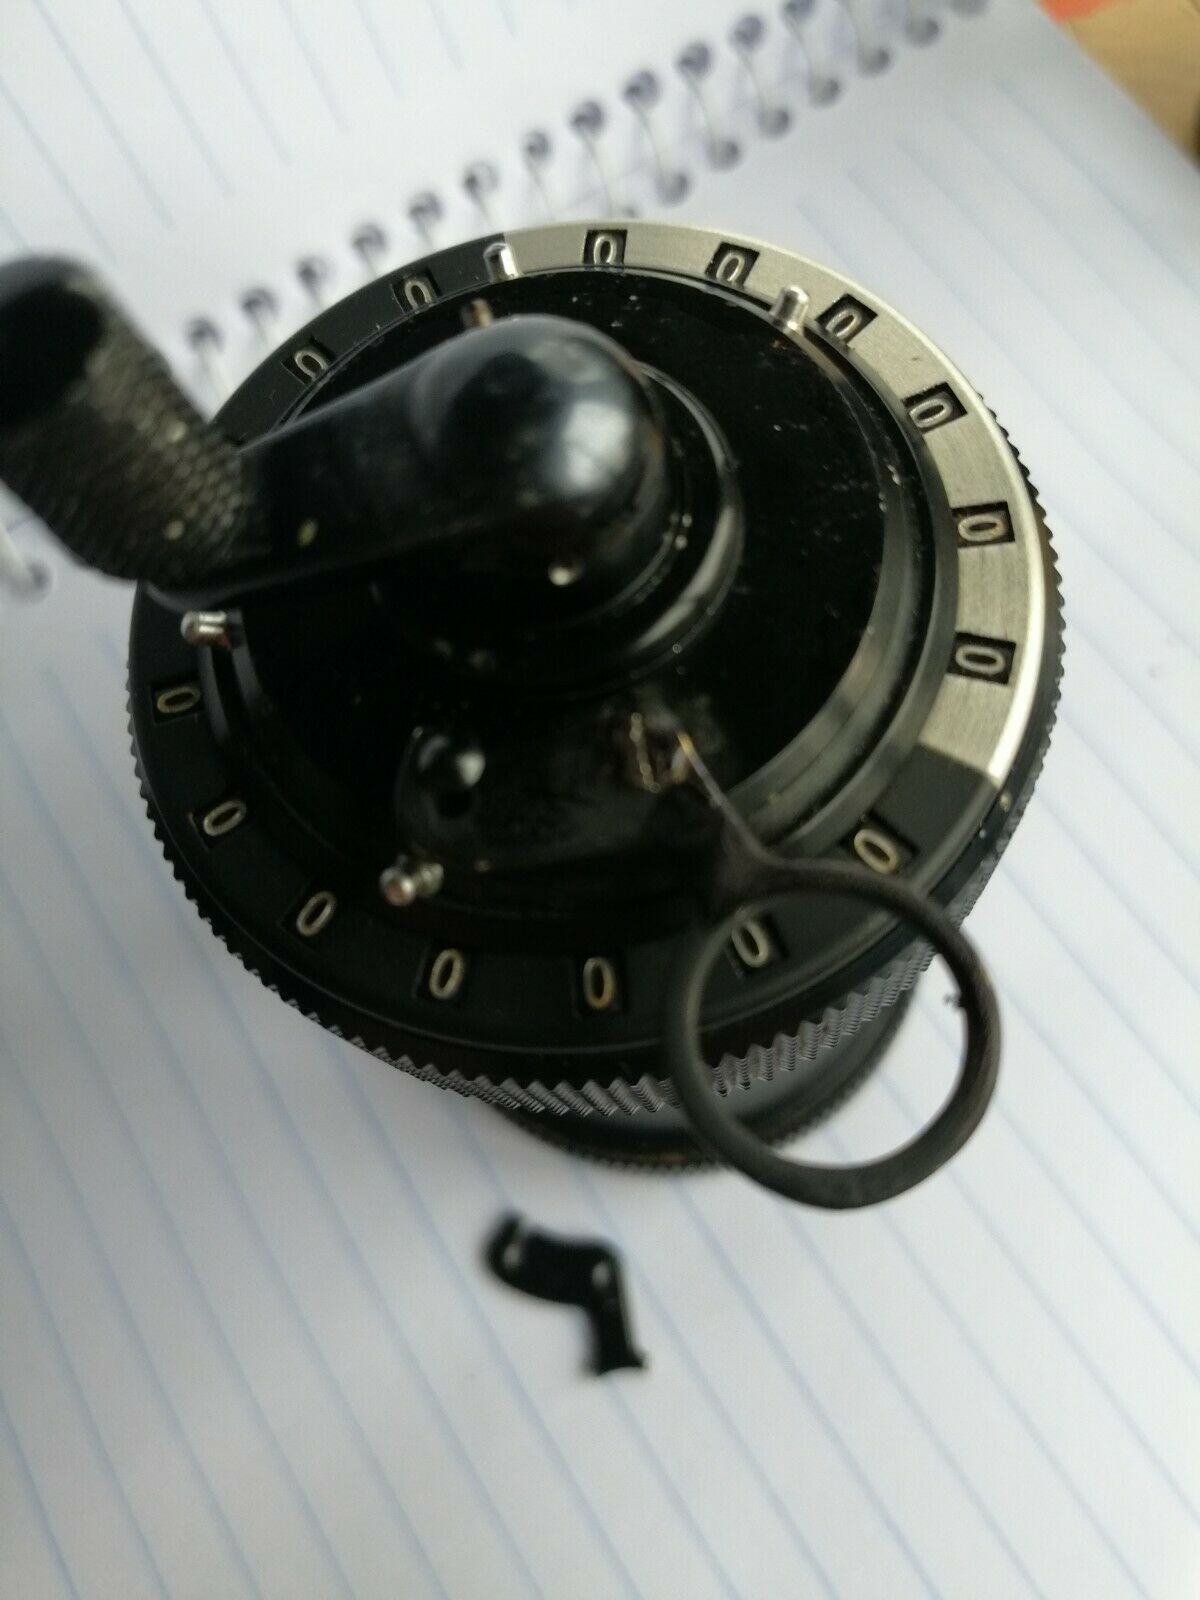
When found, it had extensive damage due to water contamination.
The Curta was sent to Jack Christensen for a major overhaul.
Wed, 18 Dec 2002 15:22:40 -0600
So far, I've spent about 3 hours with the Curta. Much of that time was in trying to removing the crank handle. The taper pin holding it in place had been put on wrong at some point in the past. Here's what I have to report. First the real bad news. Even though I can remove the recently bent clearing lever without further damage to it, and working on the lever will take place without the possibility of causing damage to the upper carriage, I am of the belief that the lever cannot be straightened. The "finger ring" is already sheared in one location near the second bend. I'd lay odds that trying to straighten the lever "wrist" in that area will cause another fracture of on the finger ring. The ring will then break off completely. And at the upper bend (near the normal hinge point), I can see some stress induced fracturing already present in the metal. If I try to straighten that area, I know for sure that the lever will break. That's the bad news. Now for the good news. Well, relatively good news. The unit needs a complete tear down to clean, de-rust, and re-lubricate. Things are pretty bad inside. The tear down will require everything to be disassembled. Absolutely everything but the central step drum needs to be separated from the other components. You may have noticed that one of the "results" registers (the third digit from the left, I believe) was not passing "tens overflows". I can fix that. I can also fix the problem with lifting the crank (this is the reason for a complete disassembly). I can straighten the central shaft. I can fix the upper carriage lifting "stickiness". The knurled crank handle knob is rusted in place. I may be able to free up the crank knob. The pivoting pin is loose. I can fix that. The unit has been worked on at some time in the past. The work was substandard. No major harm was done, although some areas were handled incorrectly thereby causing other problems (e.g., the register overflow problem). BTW, only one tooth is missing from the "zero positioning disc". Not bad for such a well used Curta. It would never be noticed during operation And all but one of the "ten carry levers" are in good condition. I can replace the worn lever with a new one. Oh yes. In this unit I observed something I've only heard about in the past. On the zero positioning disc in the bottom of the unit, the aluminum on the smooth outer bearing surface has "flowed" as a result of pressure by the spring mounted indexing roller bearing. After the many thousands of times the crank has been turned, the perimeter metal was "squished" from a flat surface into a grooved surface (with a cross section somewhat like a child's playground slide). No problem here, but it was interesting to note.
Friday, December 20, 2002 12:41 PM
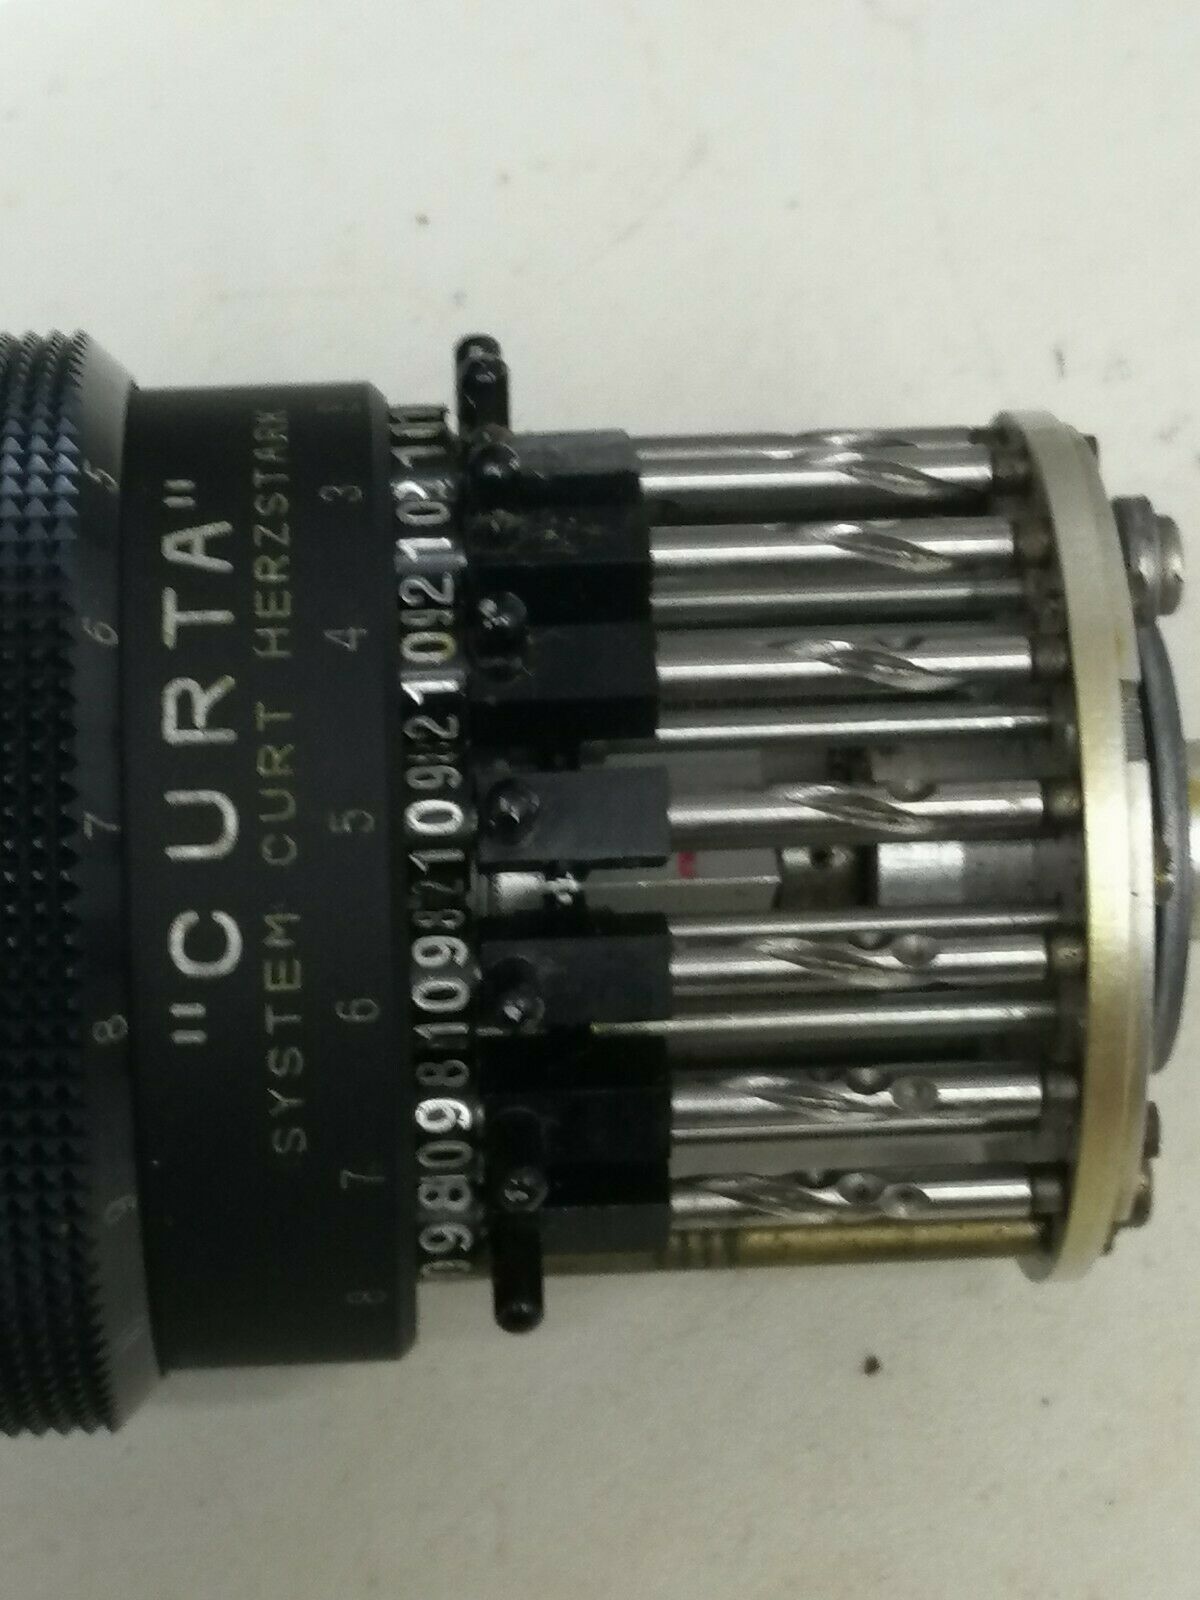
Last night, I began the disassembly process. So far, the major problem is the removal of the 17 "ten carry block" hold down screws. These are the "cheese head" (a.k.a. "cylinder head") slotted screws you can see through the cut-away opening in the upper carriage of your demo unit. So far I've removed 12 of the screws, but the remaining five are not budging at all...they are so badly rusted in place that I'm afraid they cannot be turned without twisting them in half. (The screws look like a clump of brown moss.) I expect they will break if I apply any more force. I'm soaking the entire upper carriage in a bath of rust penetrant, so I may have success yet. I will also apply ultrasonic force to the screws to loosen them. I have exact replacement screws (from another Type I), so if the remaining stubborn screws do break, I can replace them (after gingerly removing the remains of the broken screw from its threaded hole).
Thu, 2 Jan 2003 16:06:45 -0600
The repair is going well, but I am well exceeding my original time investment. This is a loss to me, but I know the job needs to be done right. There are two "ten carry block screws" that are causing me headaches. I used a lubricant/rust remover called "PB Blaster" for a four day soak. Then the part was put in an ultrasonic bath for fifteen minutes. But the screws would not budge. The heads broke off. So I drilled down the center of the 1.4 mm screws with a .35 mm drill. (Yes, that's only a .014" diameter hole with a depth of about .100"!). I'll have to remove the remnant of the screws and install new screws. It's a lot of work, but it was the only way to do the job right. The rest of the ten carry block screws (the other 15) eventually came out. Nevertheless, I may replace them all with better ones from another Type I. I'm afraid that reinstalling the old ones will just invite problems in the future. The screws are badly rusted and very weak. (I'm actually considering having screws made to the exact specifications as the original. I found a miniature screw manufacturer in California that will make 1000 custom machined screws for about $400. These will be exactly like the original ten carry screws in size, shape, material, etc...but without the rust.) So far, here's what has been done.
- The central shaft has been straightened.
- The step drum/"tens bell" coupling bar has been straightened. (It was the tilted coupling bar that caused the difficulties in raising the crank handle. The factory eventually changed the rather weak bar style to a much stronger cylindrical pin. This stopped the problem of a bent coupling bar.)
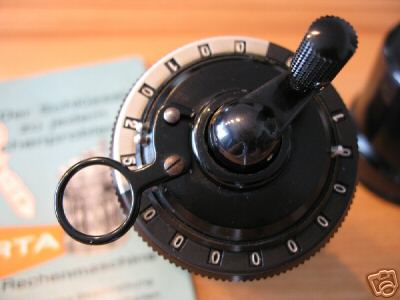
- The knurled knob on the crank pin has been removed, and cleaned. It now spins freely (yippee!).
- The left hand threaded crank knob pin has been locked in place.
- The "results" and "counter" dials have been removed and cleaned.
- The 17 shafts holding them have been cleaned and polished.
- A new register carry "pin" has been made and press fit into a "results" register dial where the old pin was sheared off.
- The new clearing lever was installed. (I didn't try to straighten the old one - it'll break for sure. I'll send it back if you want it as a memento.)
- The upper carriage has been totally cleaned, re-lubricated, and re-assembled. It's ready to install on the body.
- The 17 brass ten carry blocks have been cleaned so that the ten carry levers can slide freely.
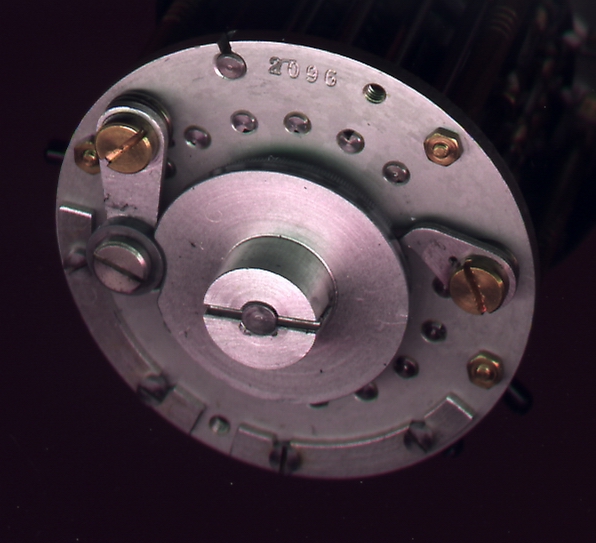
- The "indexing/follower roller" for the zero positioning disc is now free to turn.
- Detrimental burrs on the zero positioning disc have been removed.
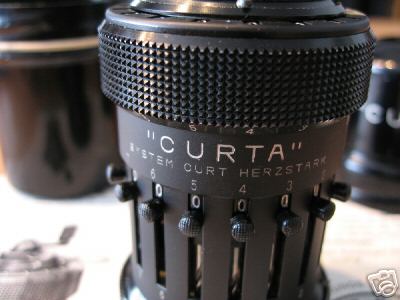
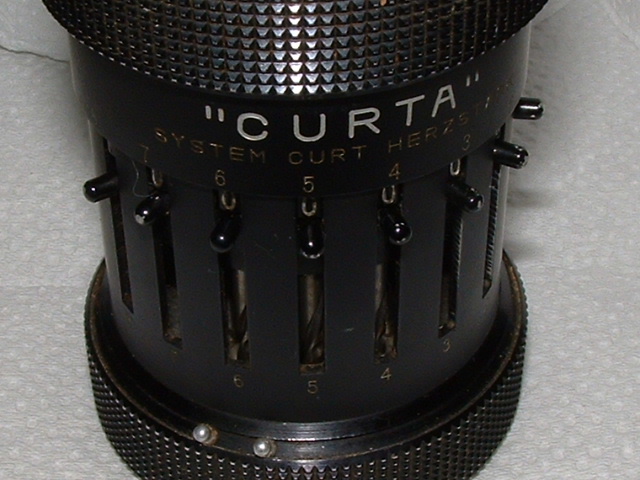
- The etched wording on the body, and the etched digits in the results and counter dials are now free of dirt.
- All the accumulated dirt on the knurled hand grips is gone.
Mon, 6 Jan 2003 14:48:44 -0600
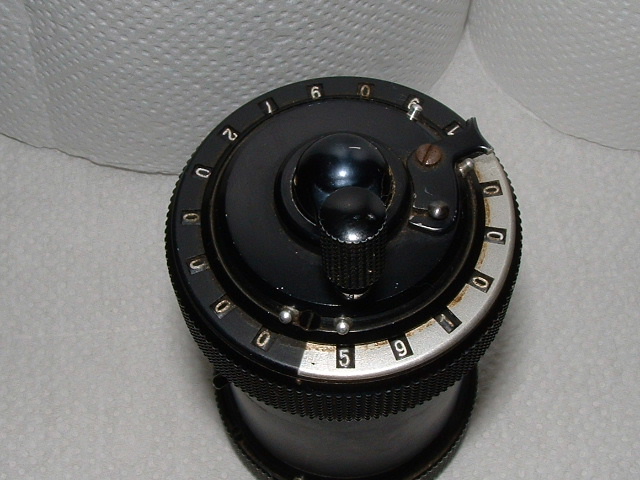
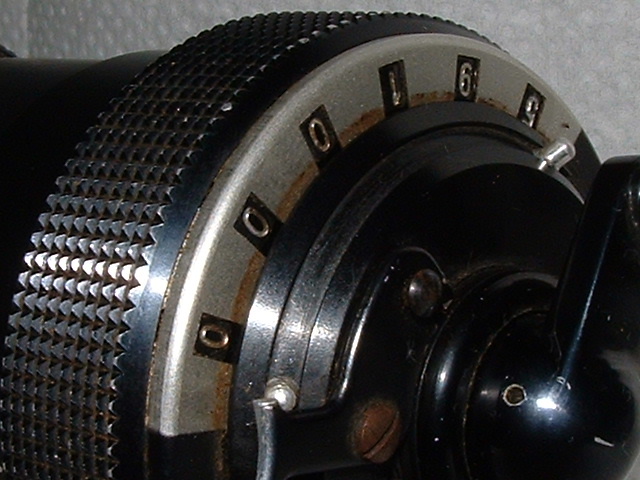
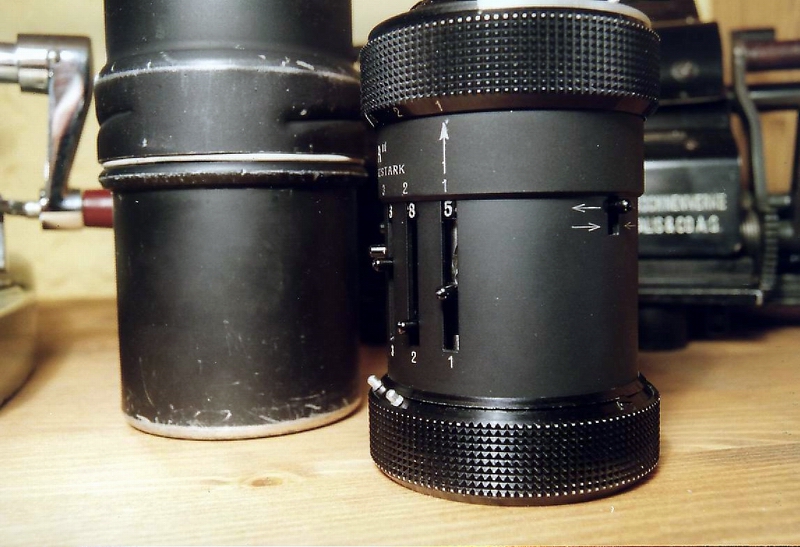
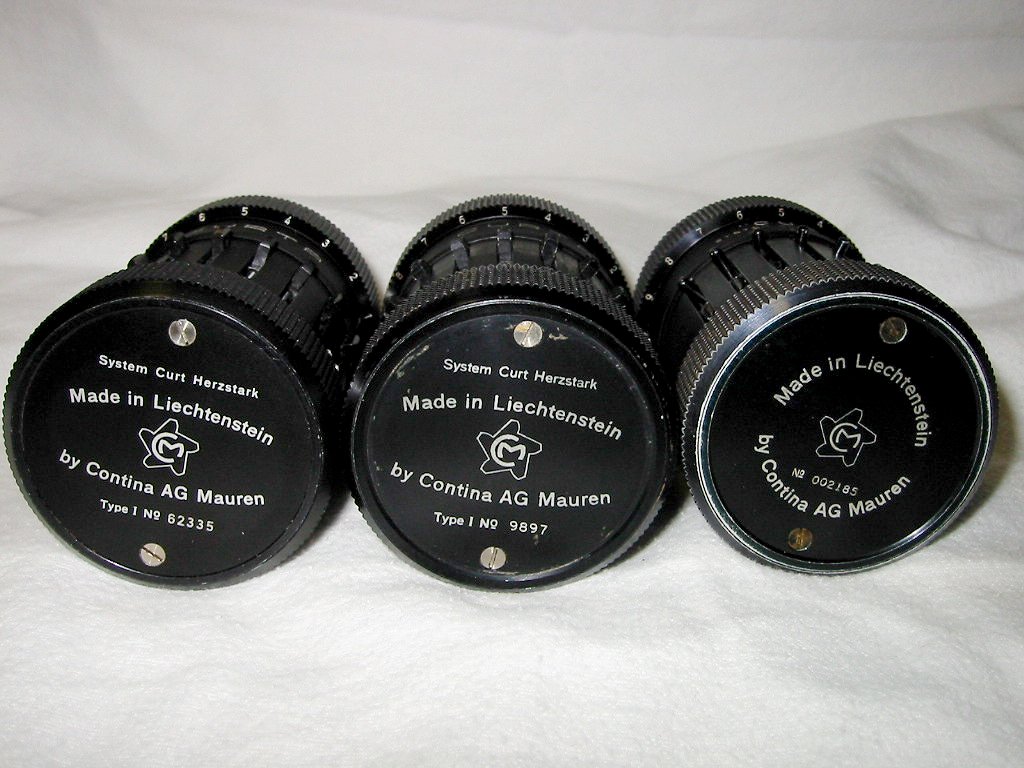
By the way, I noticed another subtle difference on the Curta. It has to do with the very, very small taper pin that locks the upper carriage knurled ring to the black and silver bezel (that has the rectangular holes for the results and counter numeral dials). On all Type I's I've seen to date, that pin is located where the "silver transitions to black" on the bezel. The unit has the pin located where the "black transitions to silver" - that is, the pin is shifted about 75 degrees from its typical position. Why the change was made, I don't know. Parts are not interchangeable as a result. Also, the "follower" roller bearing on the bottom that rolls around the zero positioning disc is mounted upside down on the unit. That is, the nut holding the roller is toward the top of the unit. The spring loaded moveable arm that holds this roller is lower in profile than on all newer units, requiring that the roller ride on the bottom side of the arm. I think a change was made to allow a longer (more turns) tension spring on the spring loaded arm...the part was made with a taller shoulder where the spring rides. The follower roller was then moved to the other side of the arm and the screw and nut were flipped around. And another area that changed: The main bearing sleeve at the top of the unit is not coated (or hardened?) on the inner surface as are the newer units. Nor is there a brass bushing insert in the lower part of the sleeve where it slides on the aluminum barrel of the upper aluminum casting. Without these features, these surfaces have more friction. That is one reason the upper carriage on the unit is harder to lift and turn. I've cleaned and polished these surfaces with 12000 grit polishing material. (12000 grit will polish brass to a mirror like surface.)
Sunday, January 12, 2003 10:39 PM
Two things to note: Occasionally, two or three of the eight setting sliders "hang-up" a little at the top of their movement (position "0"). This is because of "pitting" in the spiral cut metal shaft. I did my best at polishing the shafts, but the pitting is rather deep in areas. The only way around the problem would be replacement of the setting slider assemblies. But as far as I know there aren't any of the original style for a Type I available. Everything functions OK, it's just that the knobs occasionally stick a little when the they are at the top of their movement. No harm will be done should you need to overcome the initial stickiness. The two position "reversing slider" works fine. I moved it down once and up once, checking the functionality of the entire Curta in both locations. I re-attached the crank using the taper pin, I oiled the pin and pushed it in just enough to hold tight, but not too much to make it difficult for you to remove. You may, however, have difficulty removing the upper carriage. This is because the "circlip" that retains the carriage is one of the original style that does not have two eyelets allowing use a circlip removal tool. (I could have replaced the original circlip with one that does have the eyelets, but I decided to leave the original in place.) You can get the circlip off, of course, if you know the trick. Call me for advice. Once the circlip is removed, the carriage can be easily lifted off.
Tue, 14 Jan 2003 20:39:41 -0800 Here's an itemization of the repairs that took place:
- Disassemble completely
- Loosen knurled crank knob, clean, and re-lubricate
- Lock left hand threaded crank pin in place
- Replace bent clearing lever
- Clean digits on setting shaft assemblies
- Polish setting slider shafts
- Remove rusted "ten carry block screws"
- Drill out remnants of two broken "ten carry block screws"
- Replace all "ten carry block screws" with identical ones from another Curta
- Weaken detent spring in "reversing slider"
- Remove all numeral dials and polish shafts
- Install newly made "half pin" into numeral dial with broken pin
- Clean etched digits on numeral dials
- Straighten central shaft
- Straighten "tens bell" coupling bar
- Clean upper carriage and re-lubricate
- Clean "ten carry blocks" of corrosion
- Free-up "indexing roller"
- Remove burrs on "zero positioning disc"
- Clean etched wording on body
- Clean body and other components
- Re-assemble and confirm operation
- 35 hours labor
Saturday, March 1, 2003 3:36 PM
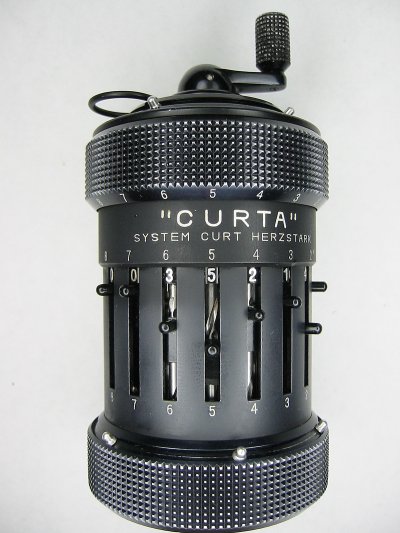
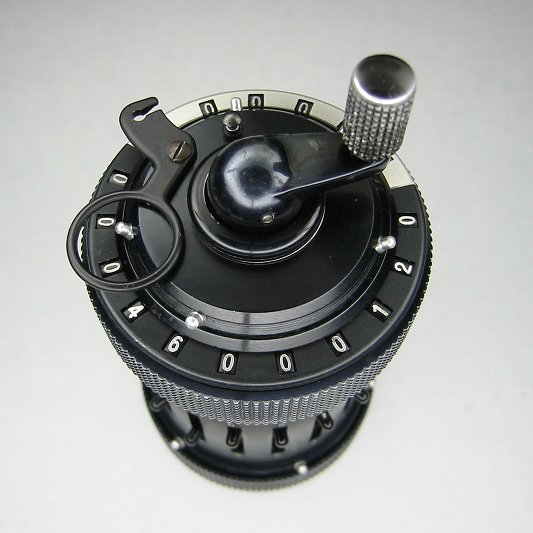
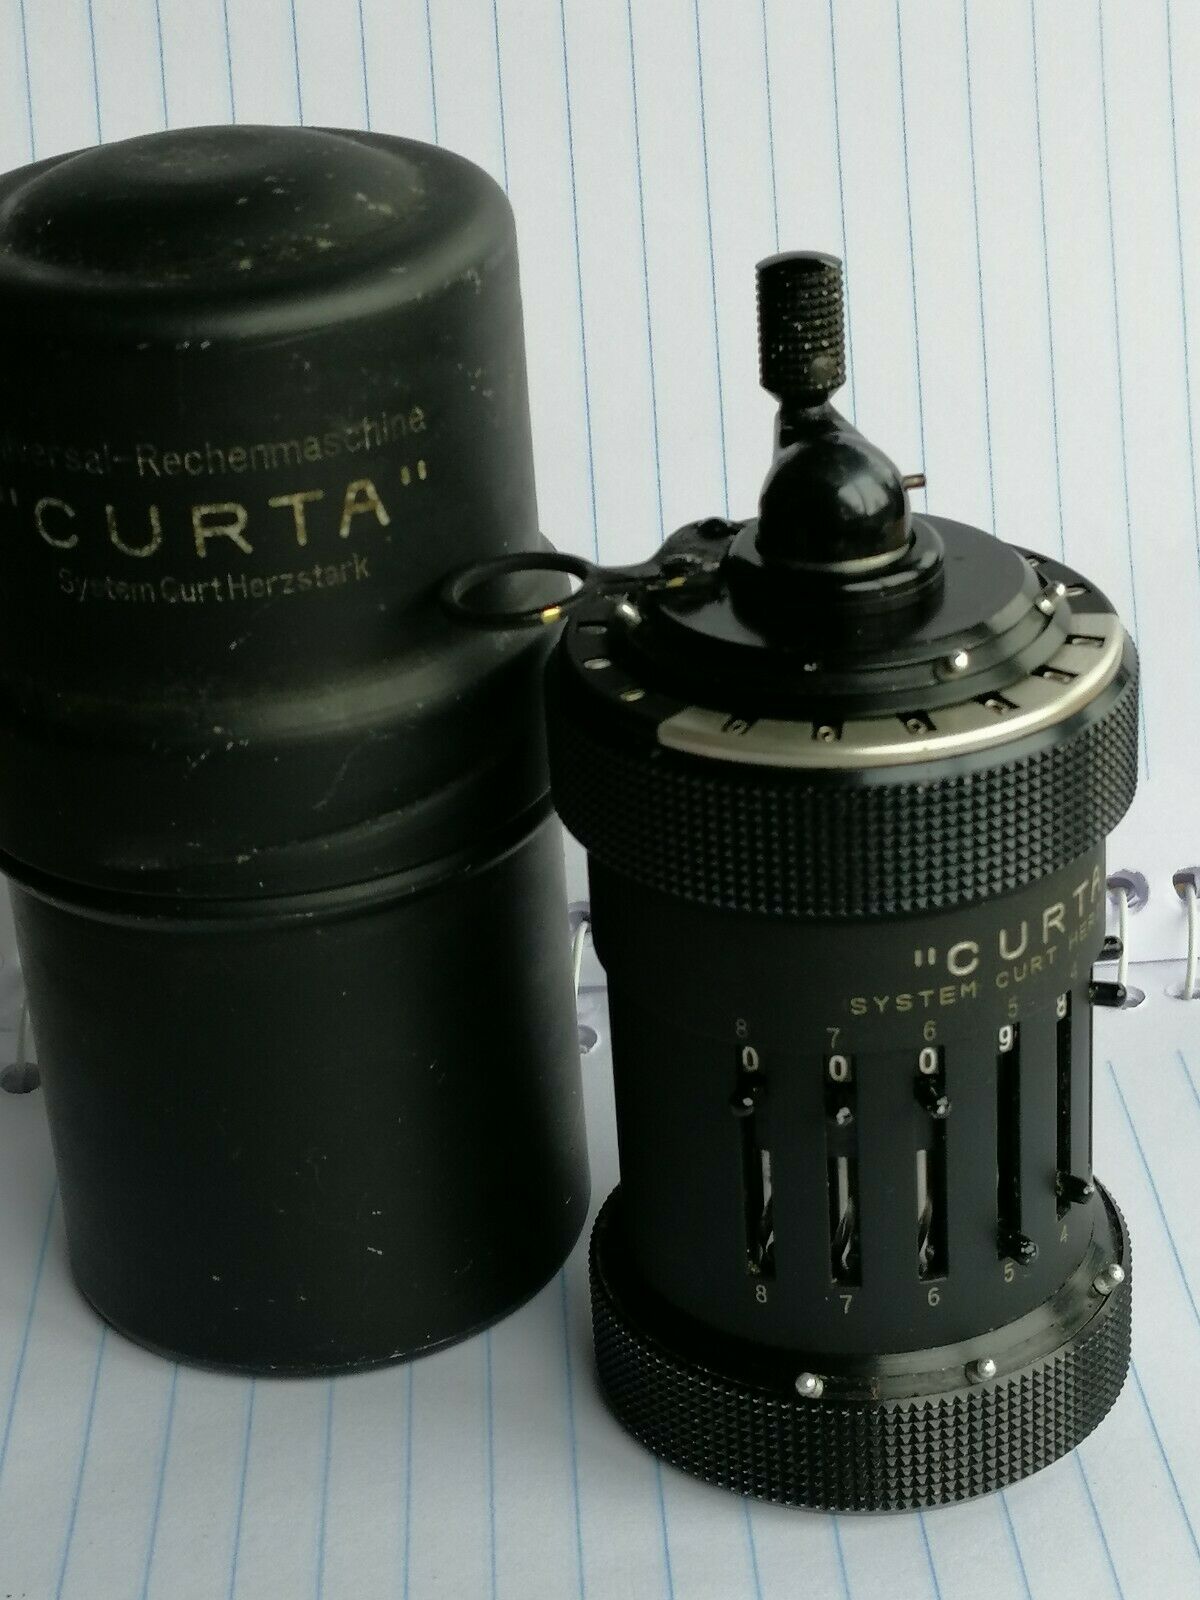
I have located a new original reversing slider with a cylindrical knob. This new part was installed to replaced the original piece that had the hairline fracture. A new original crank handle knurled knob with offset screw has also been installed, replacing one that had so much of its paint worn off. Curta Type I serial number 2185 has now been fully restored.
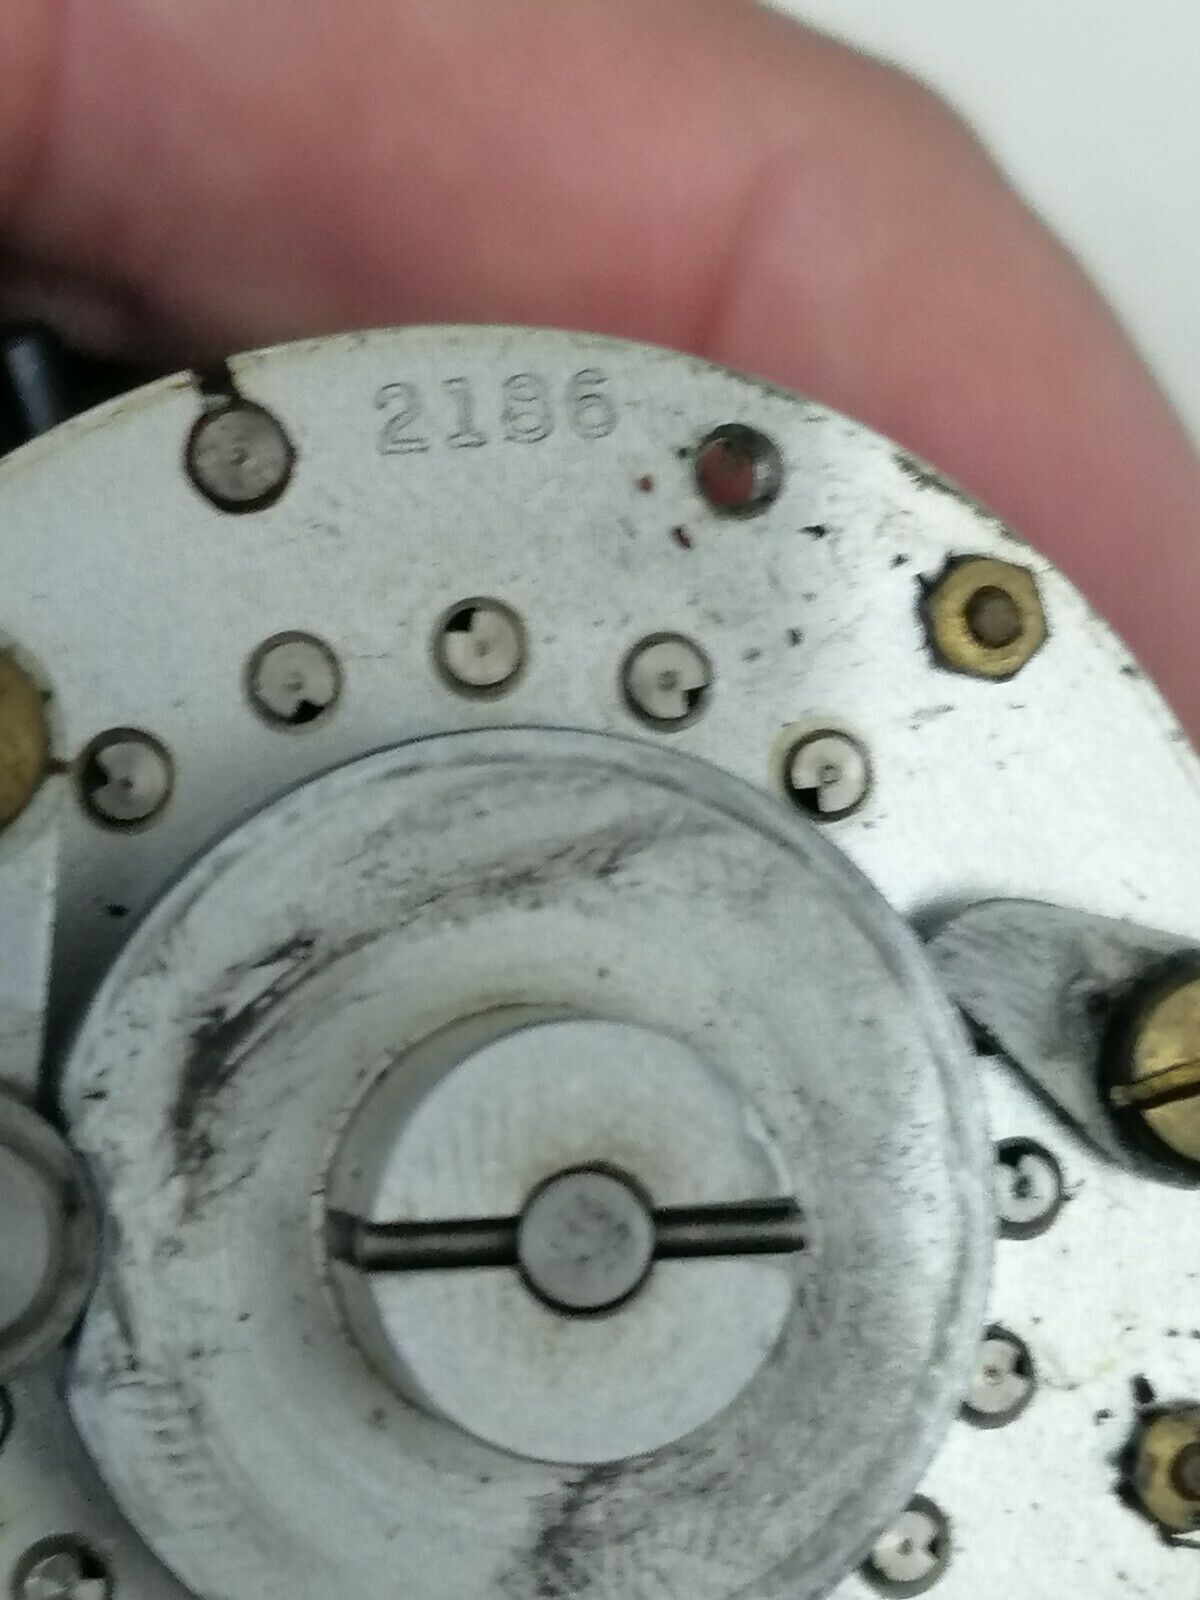
Type I (002186)

TYPE II's
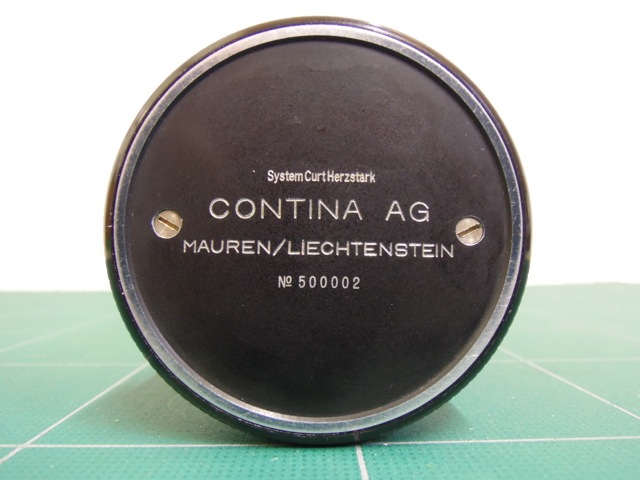
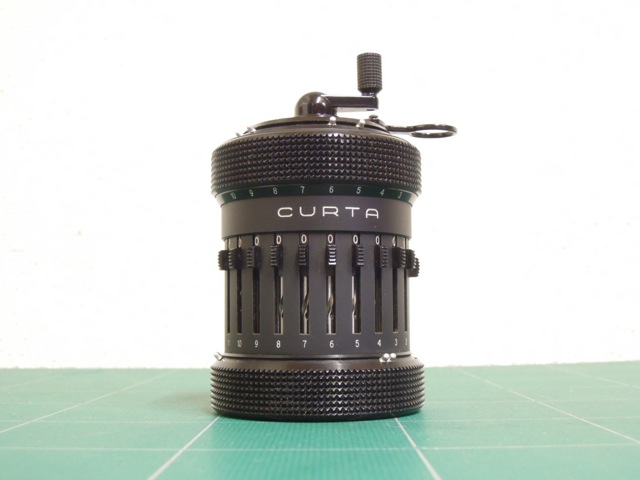
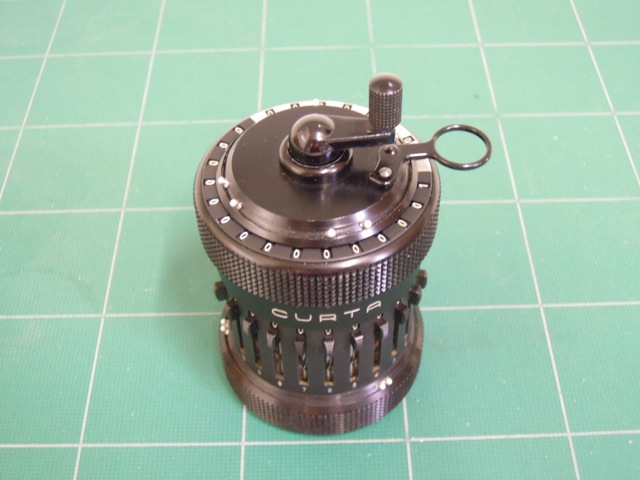
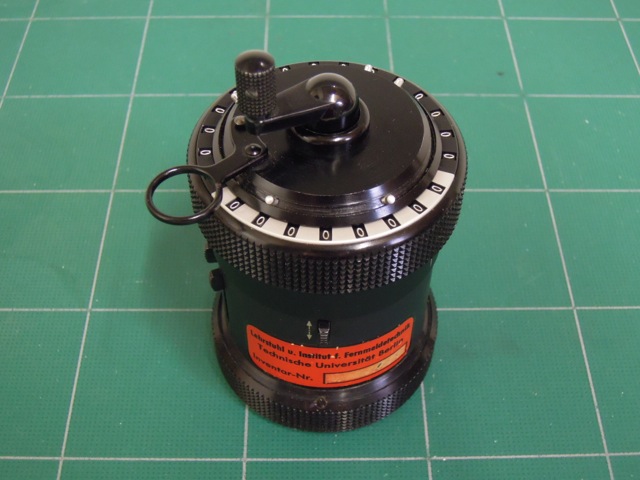
The Oldest Type II (500002)
The Oldest Type II (500008)
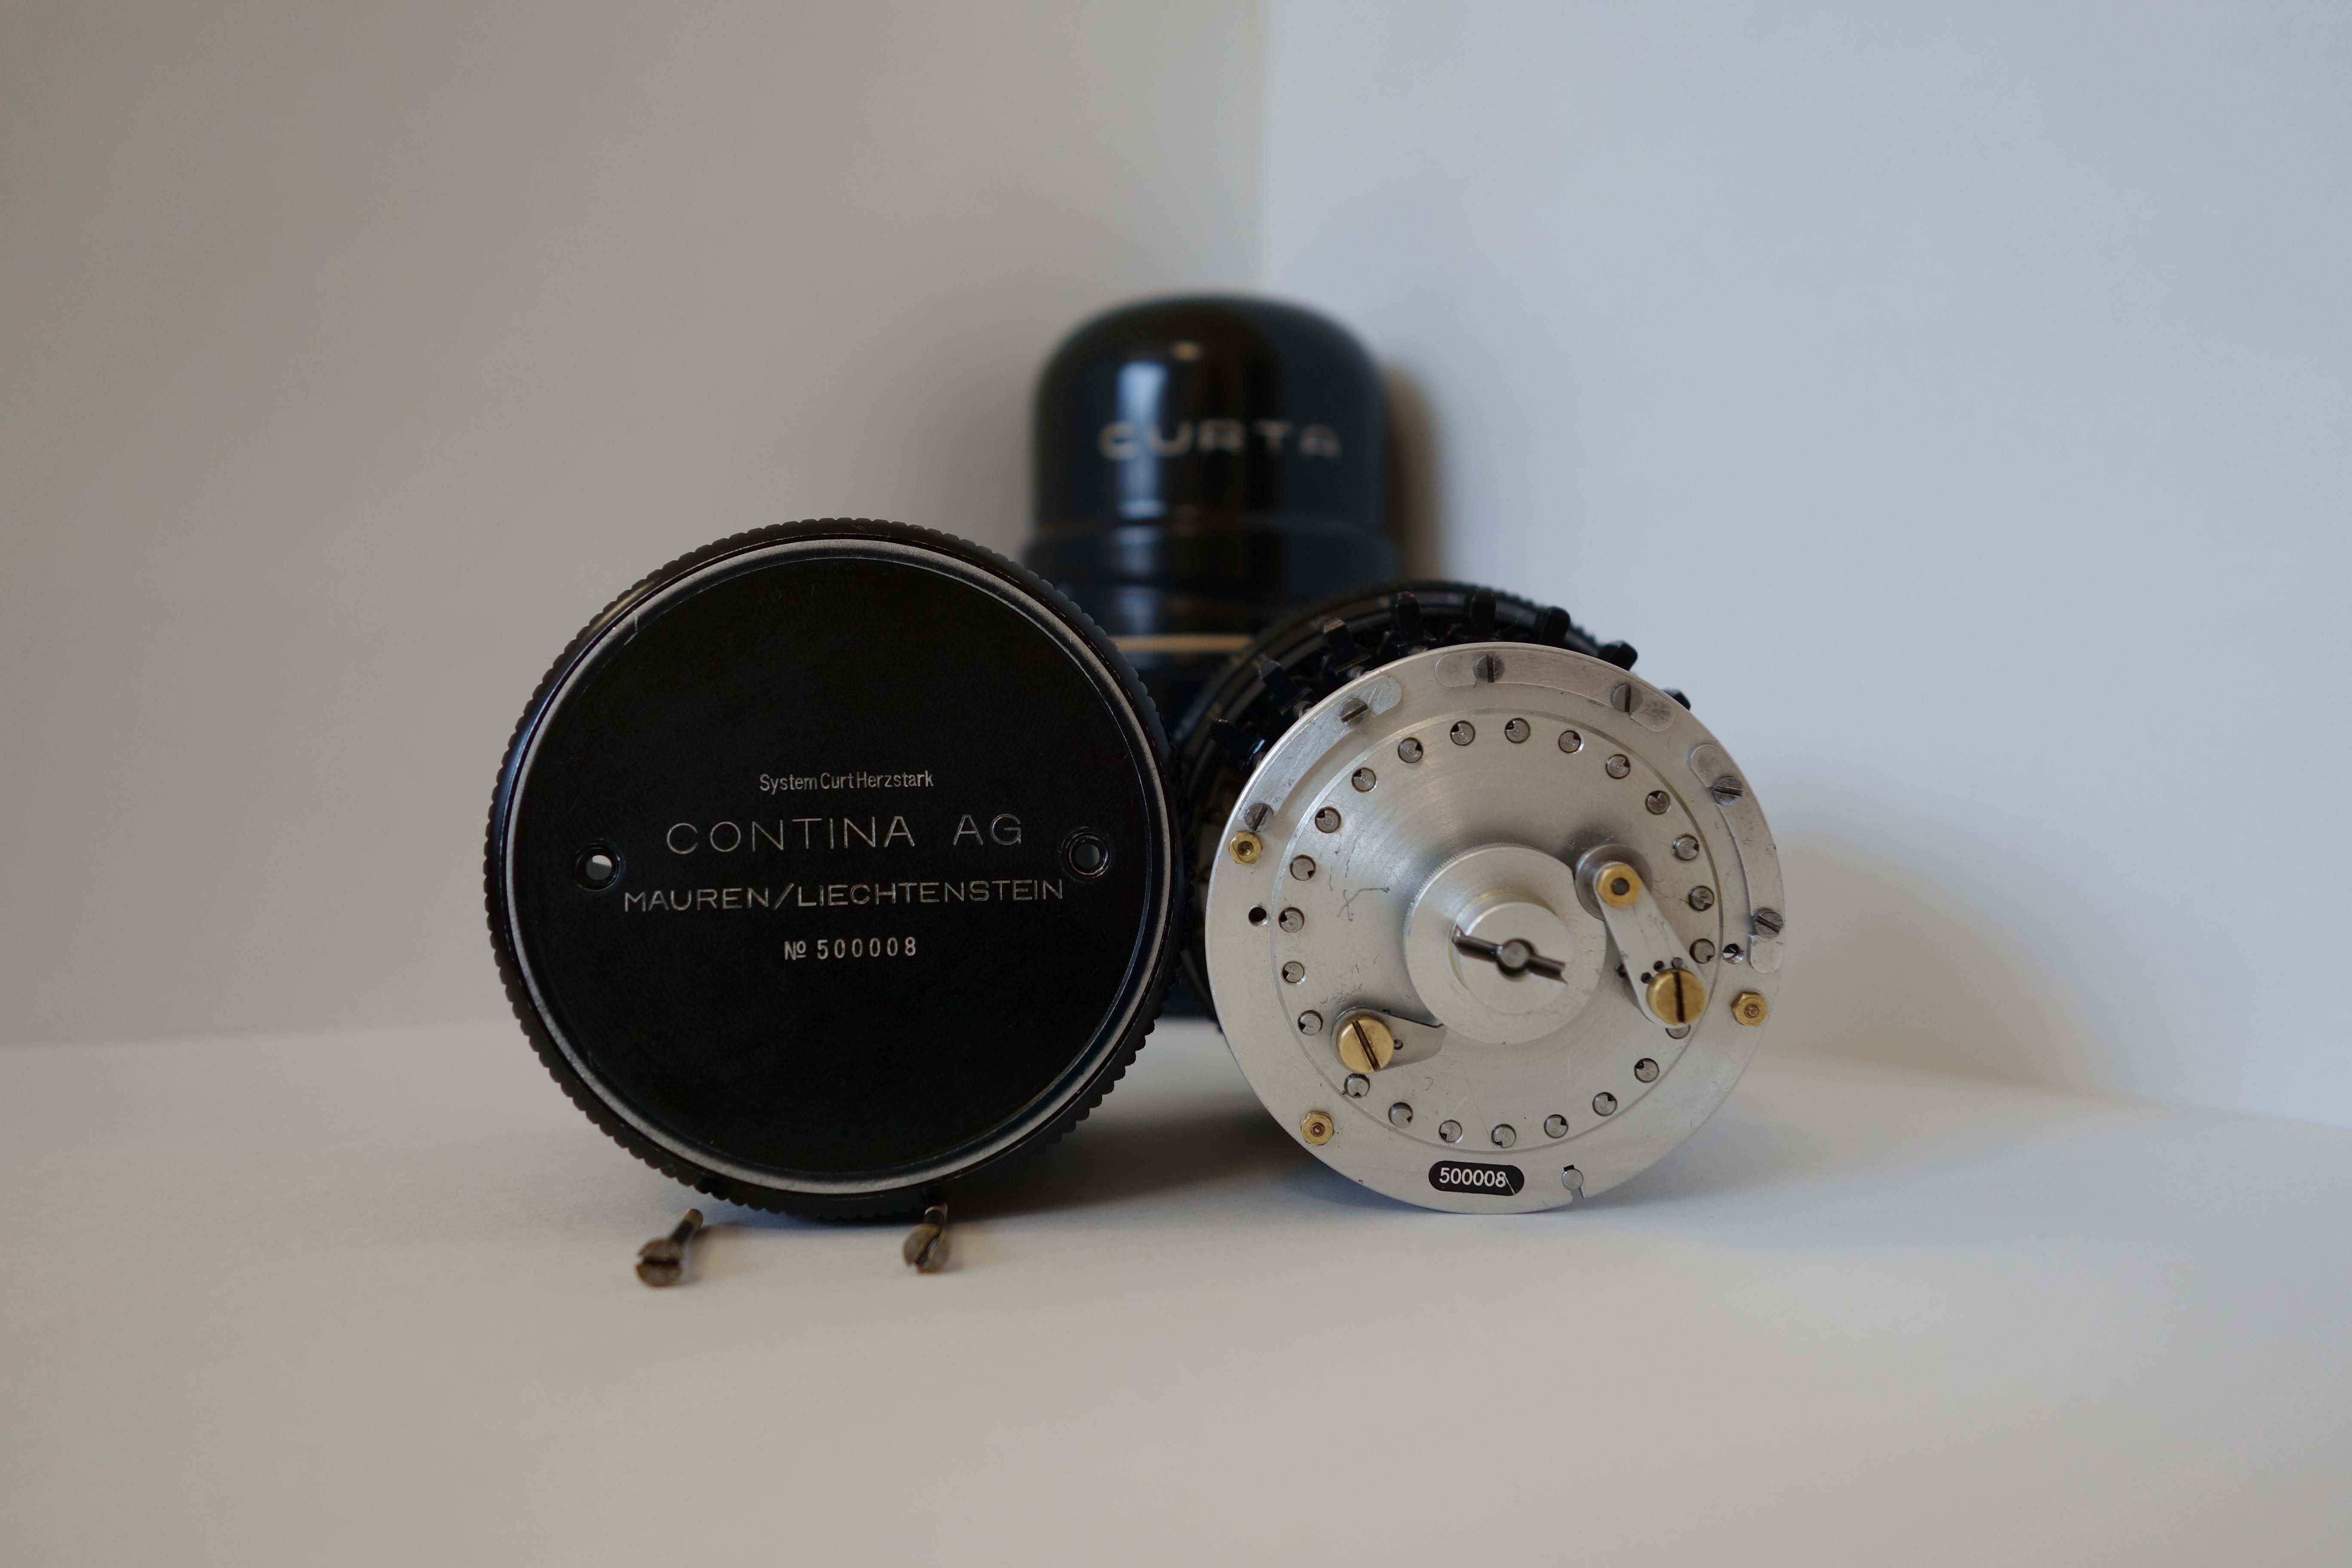
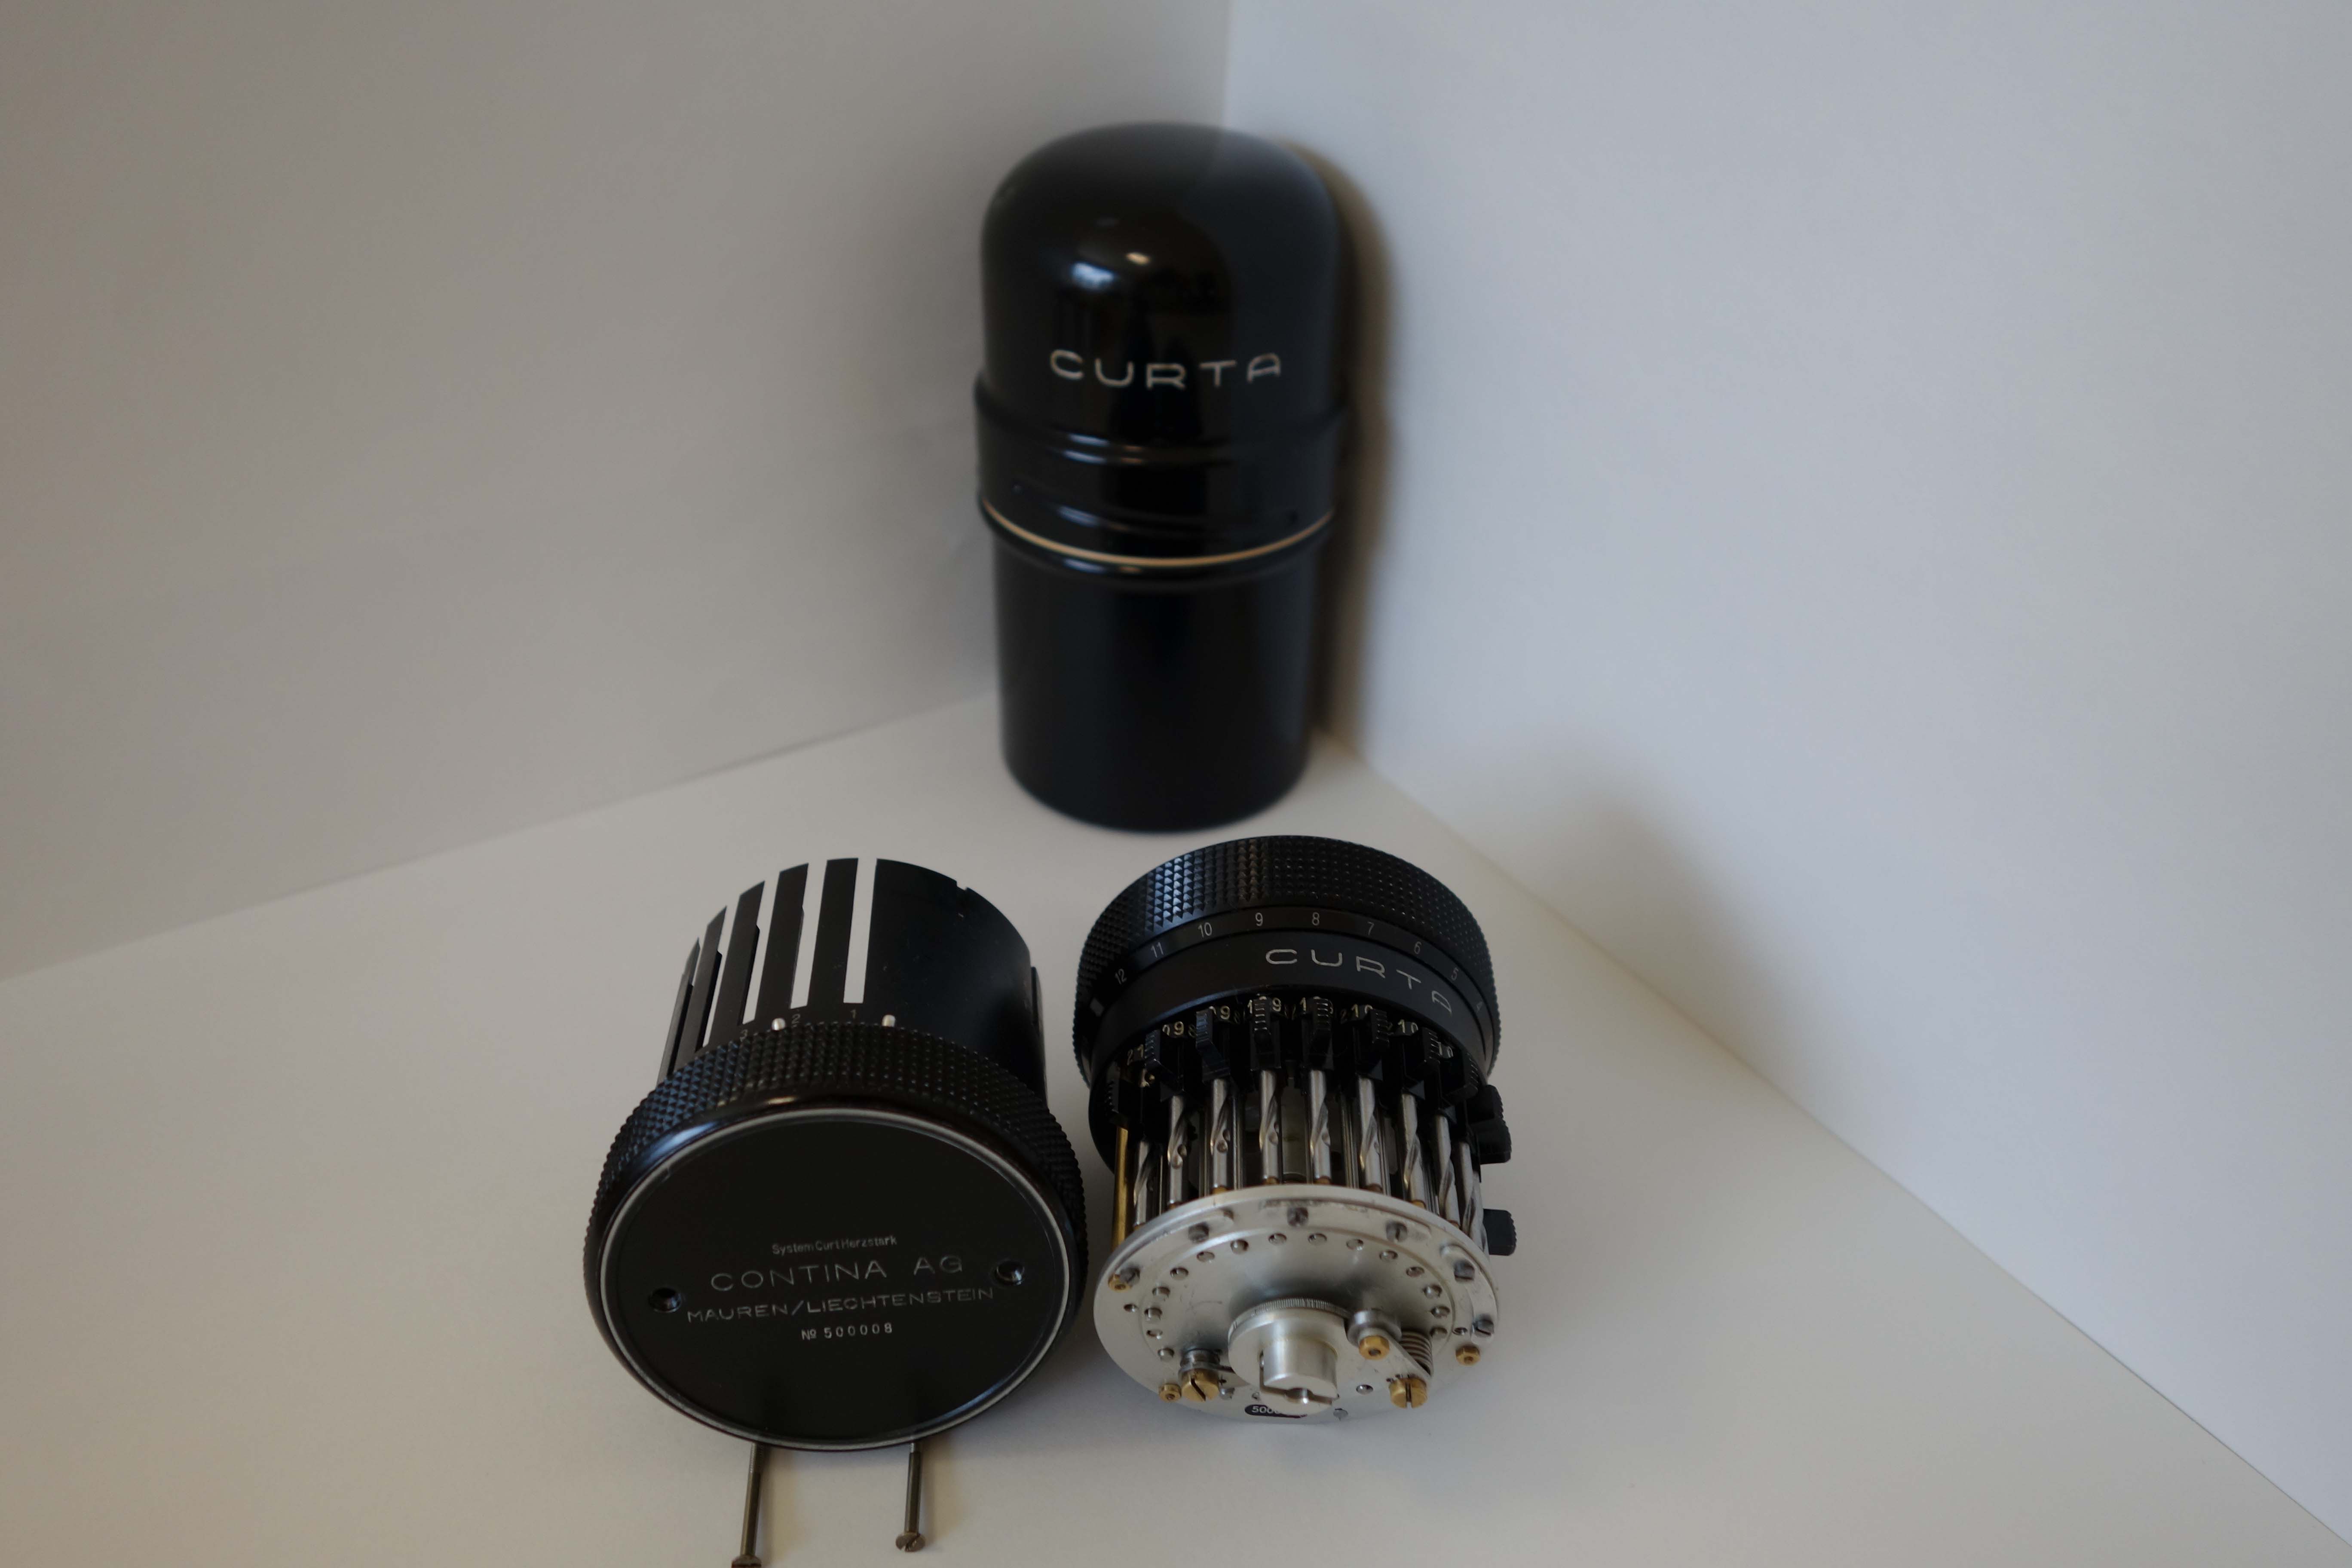
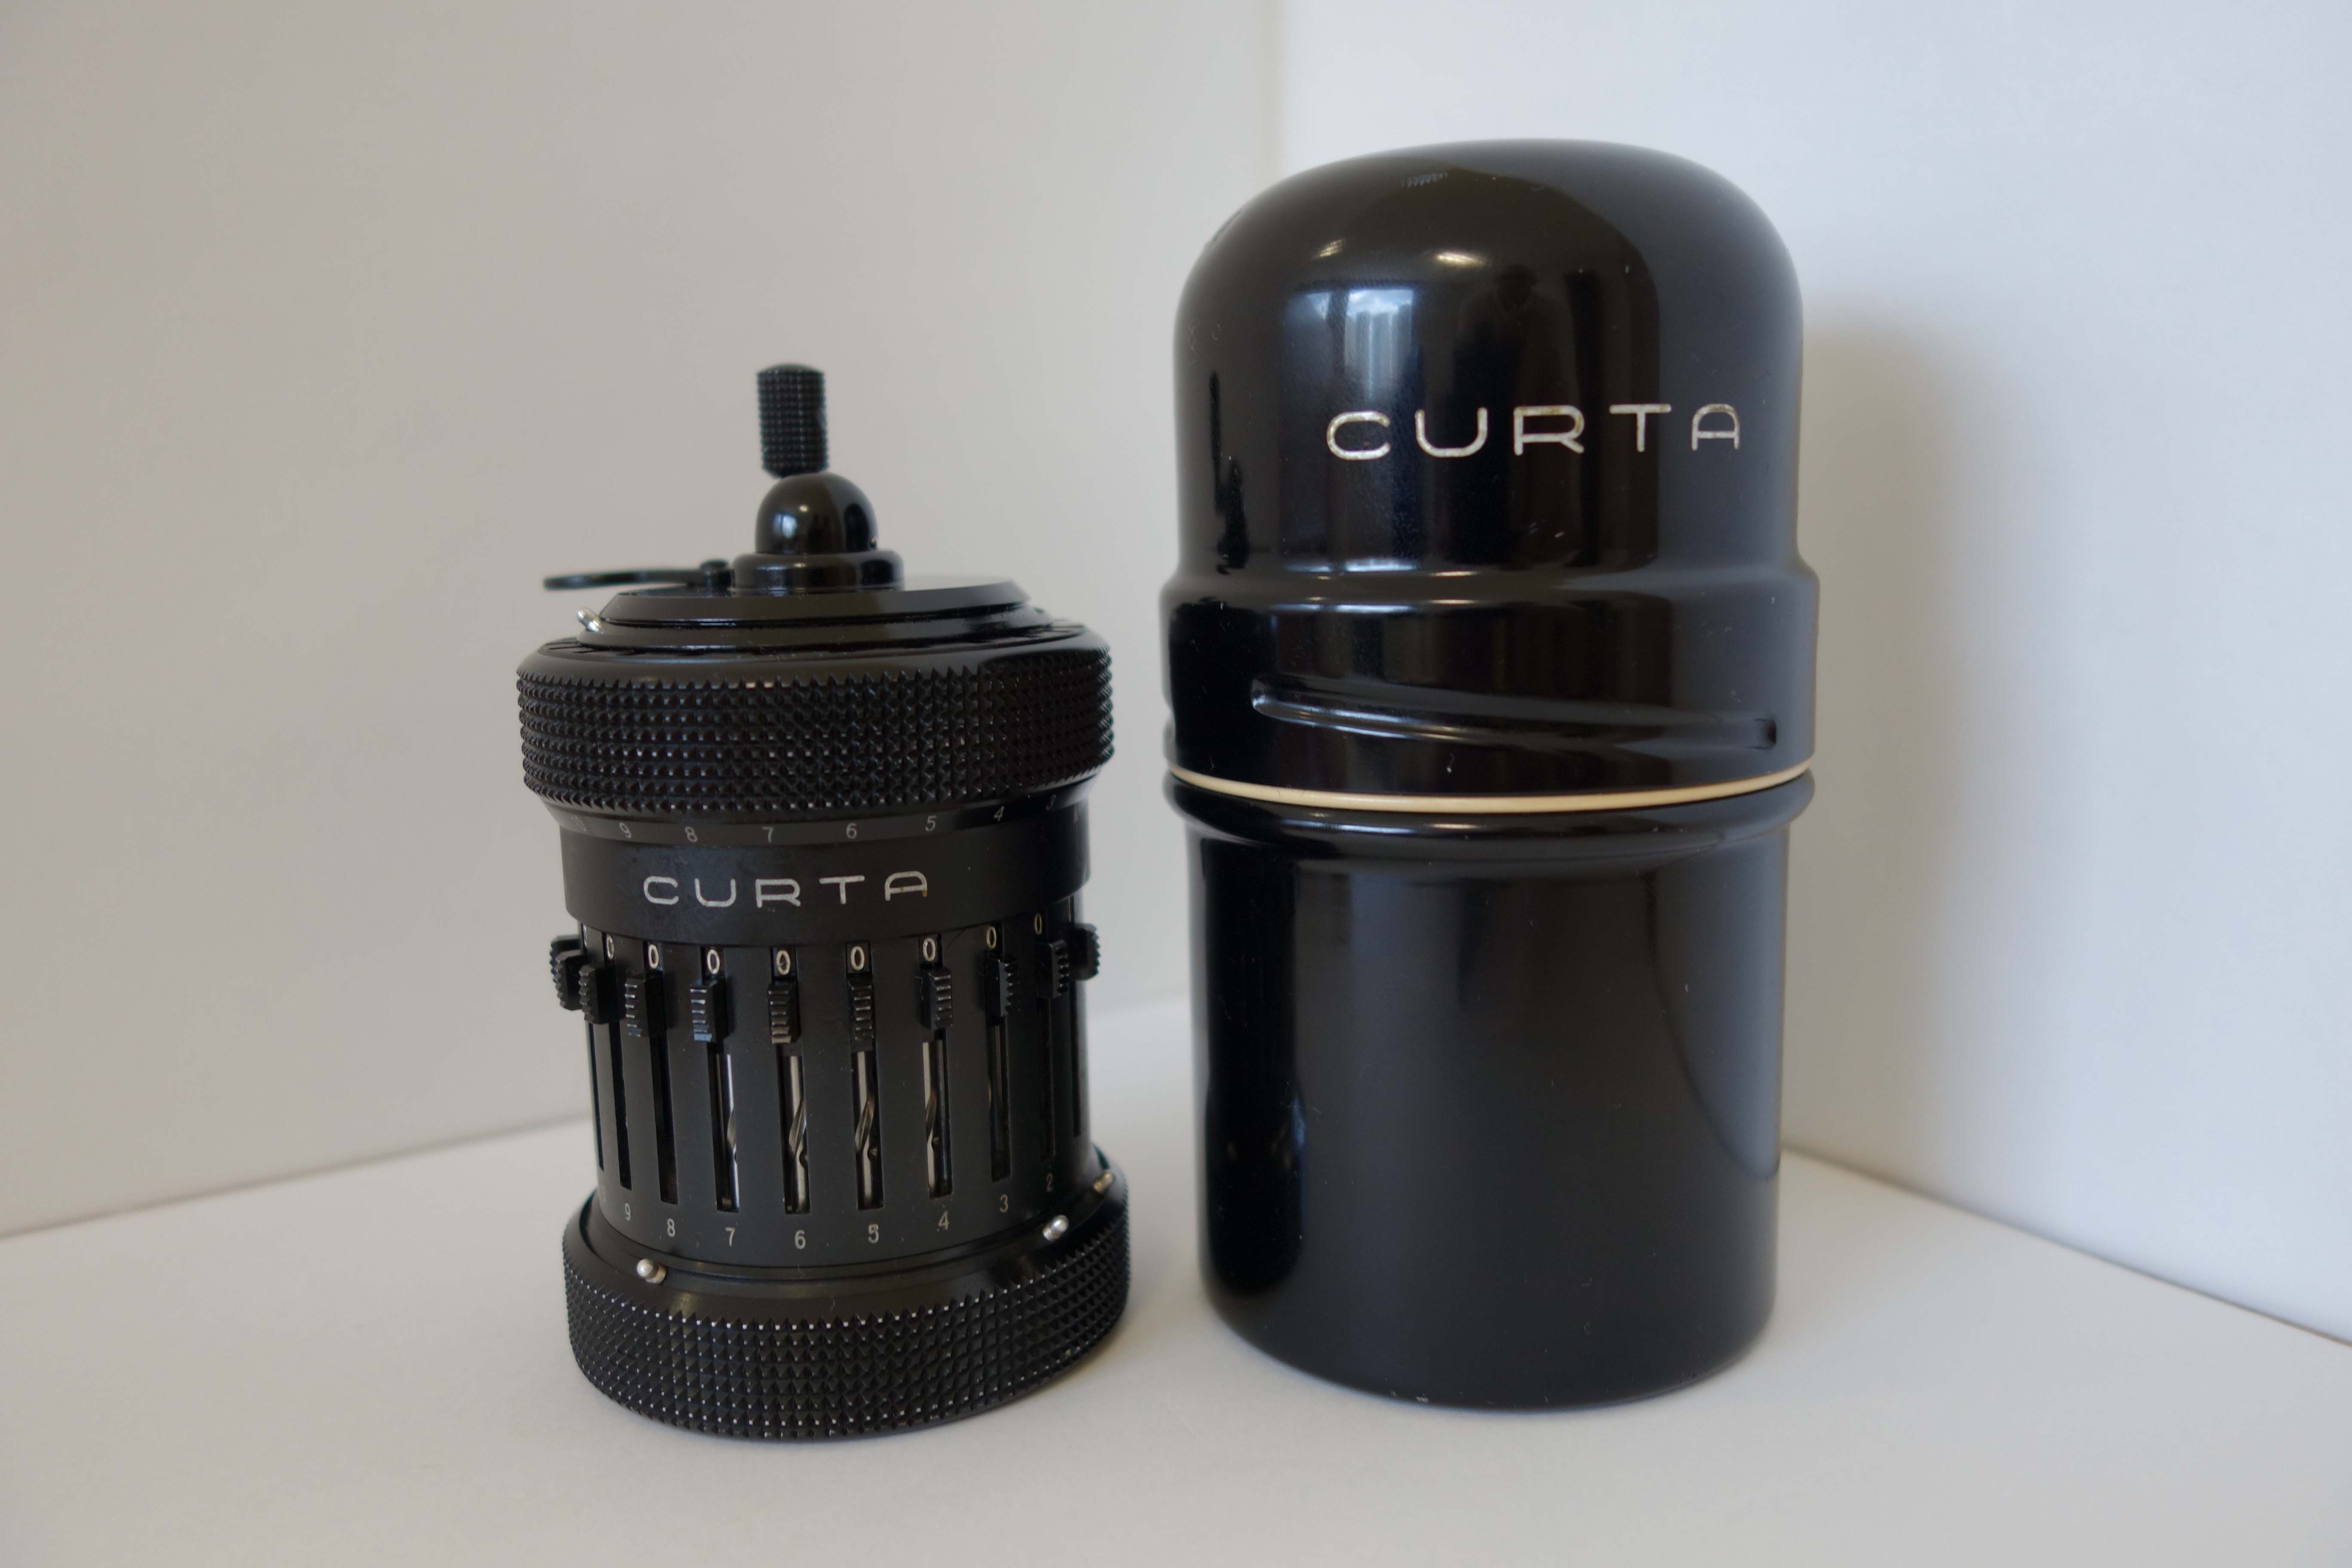
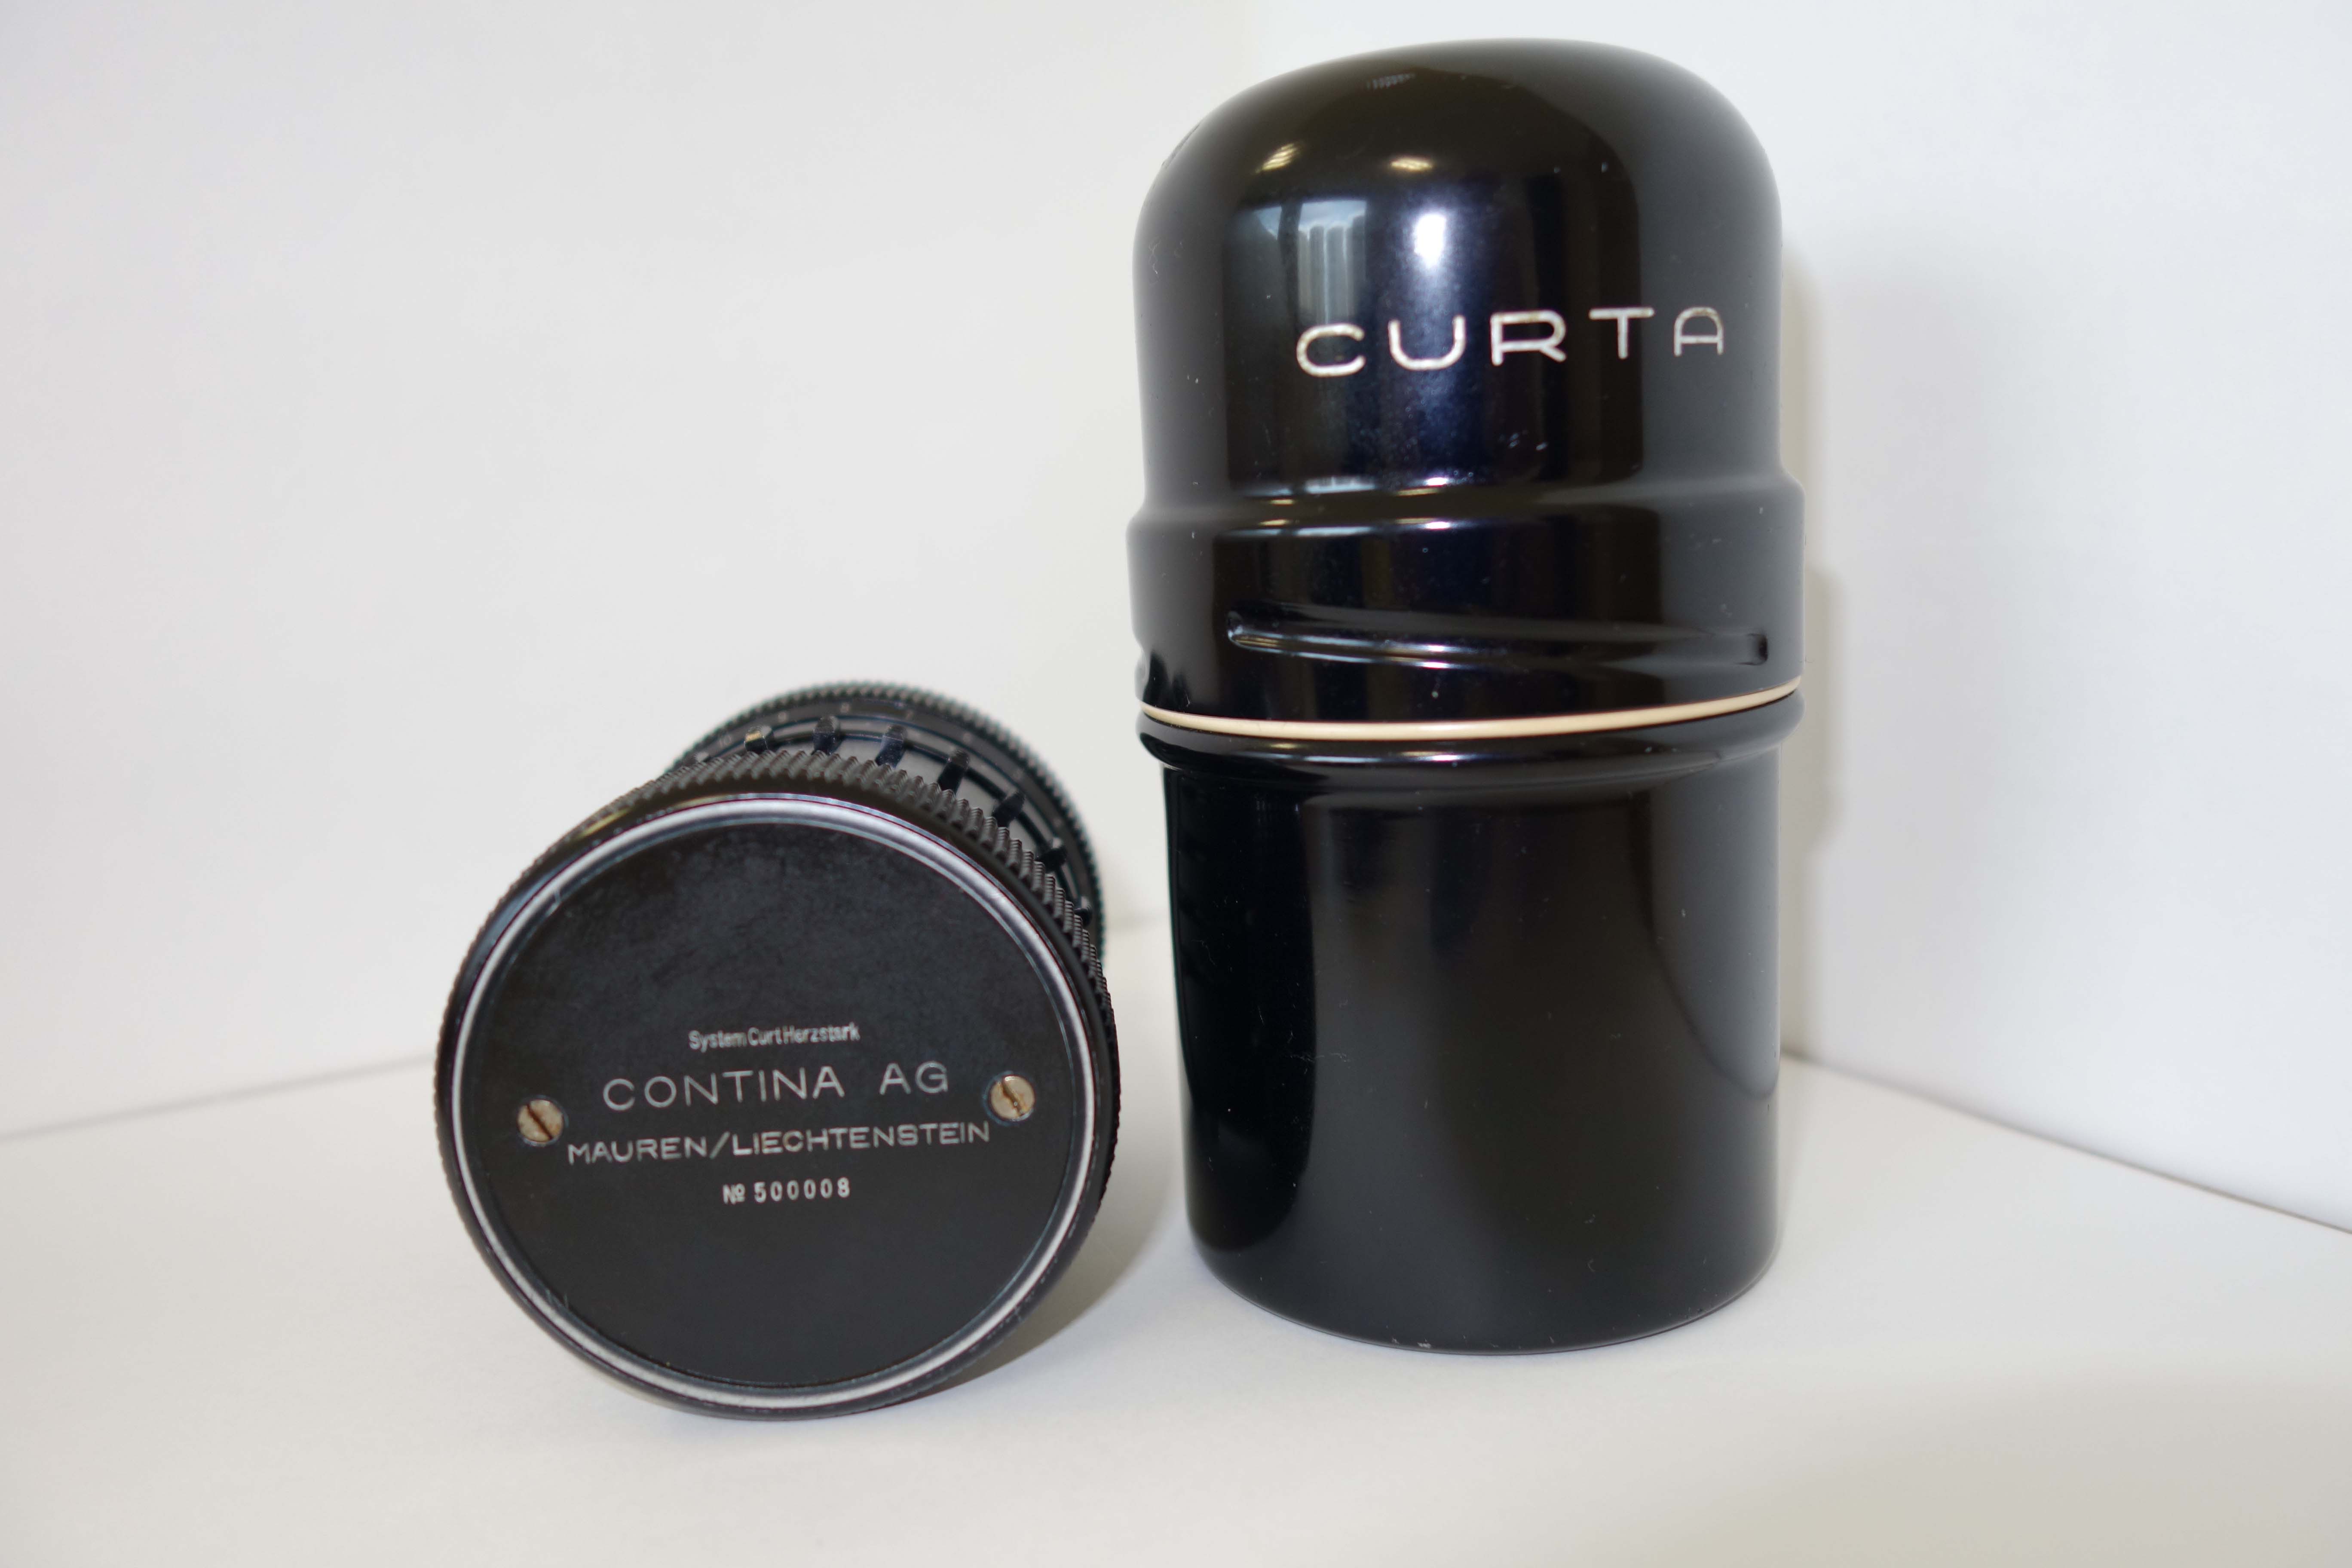
 See more pictures from Carlos Alberto Pedrosa's collection.
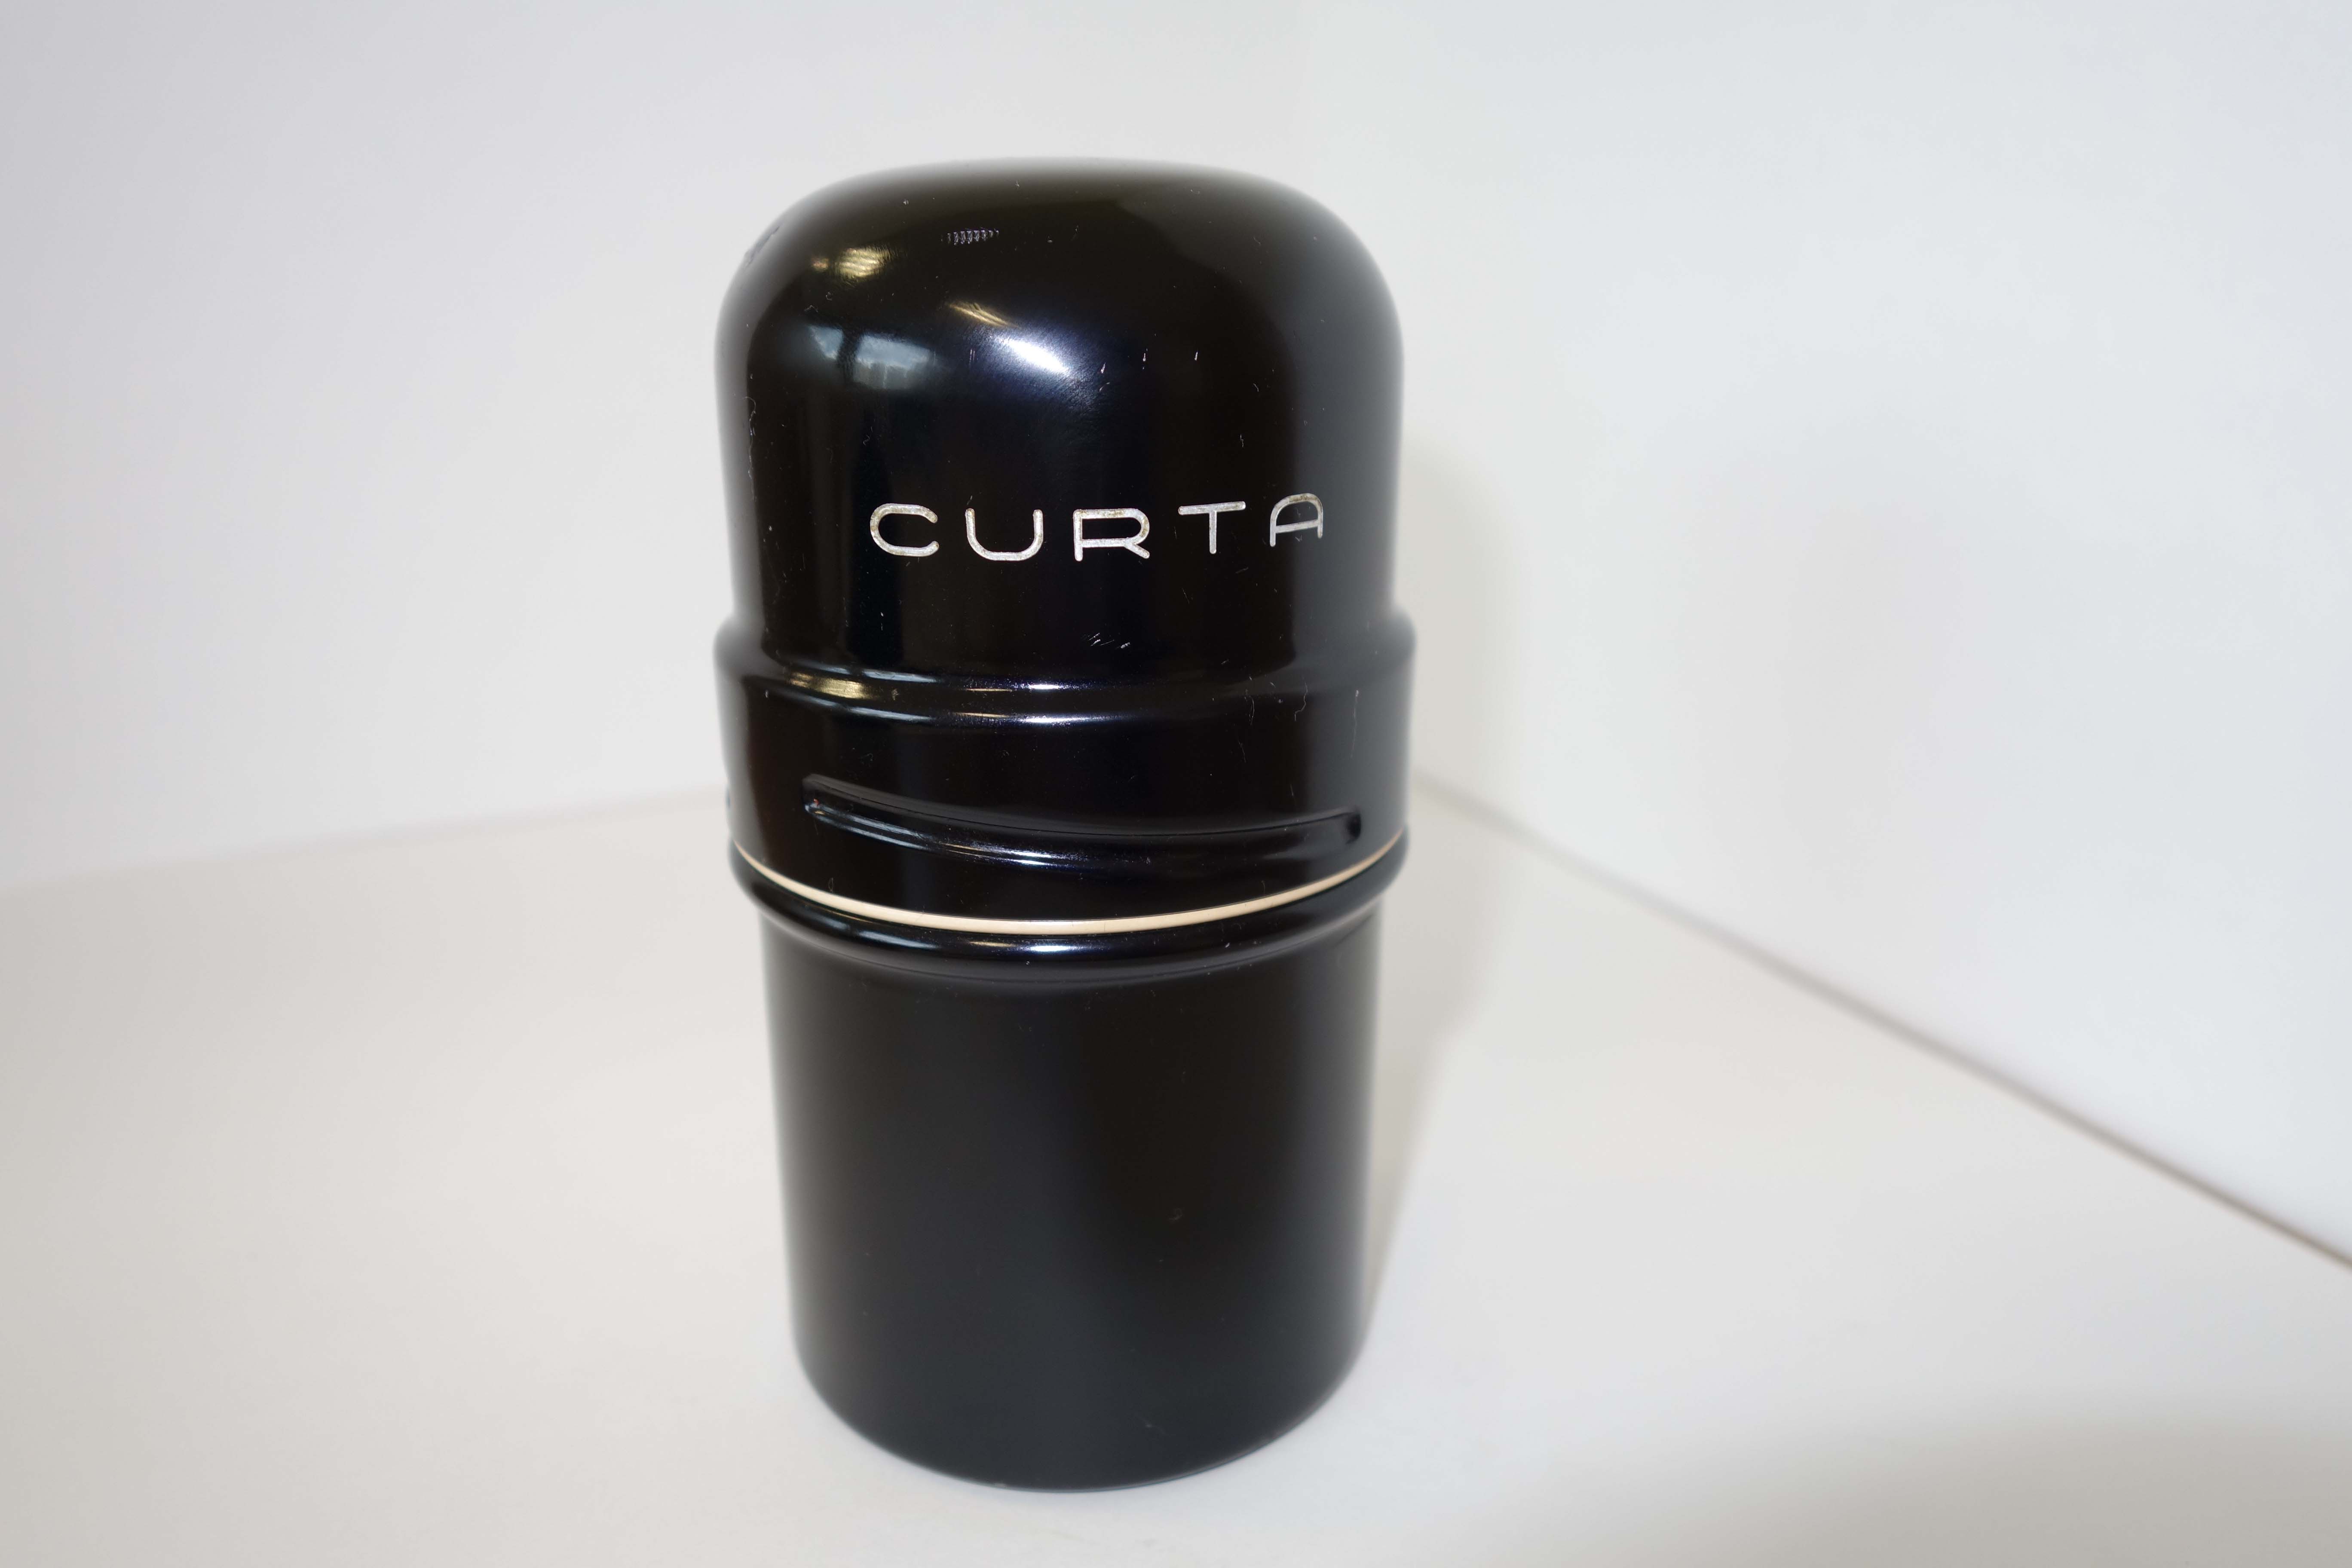
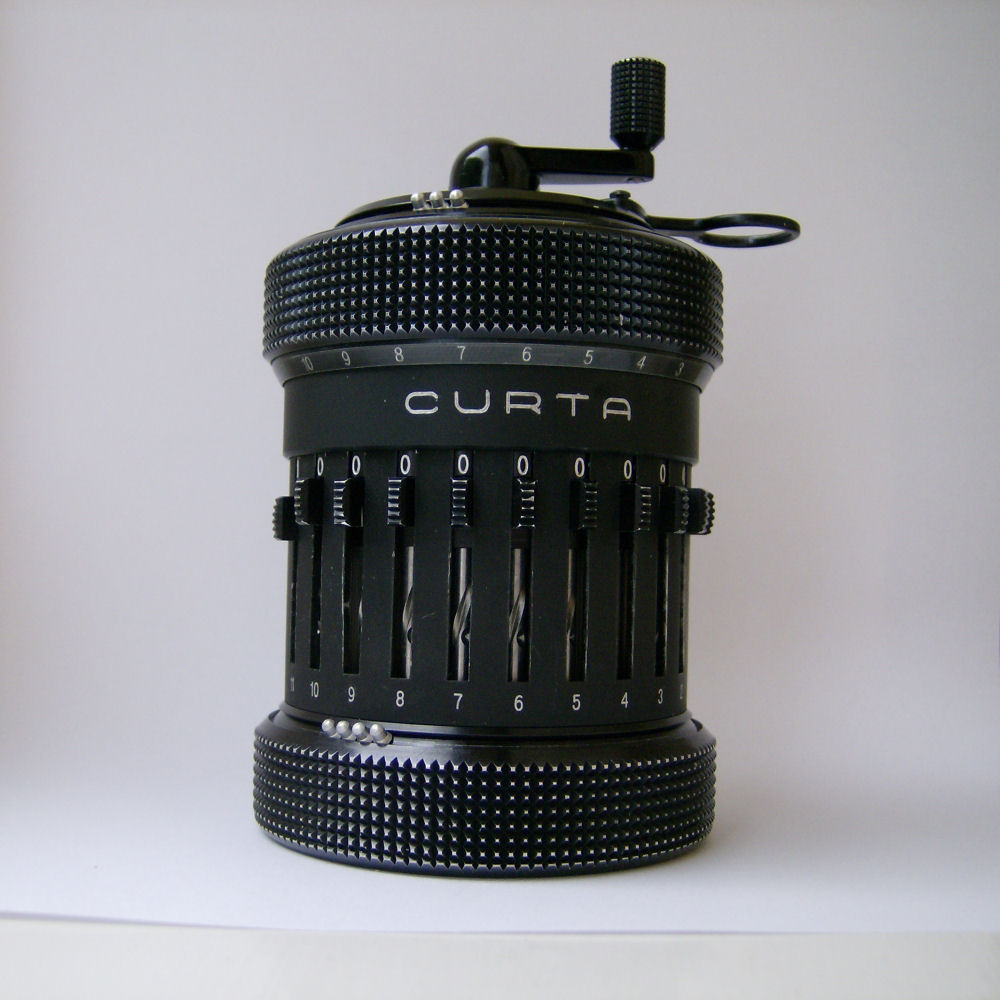
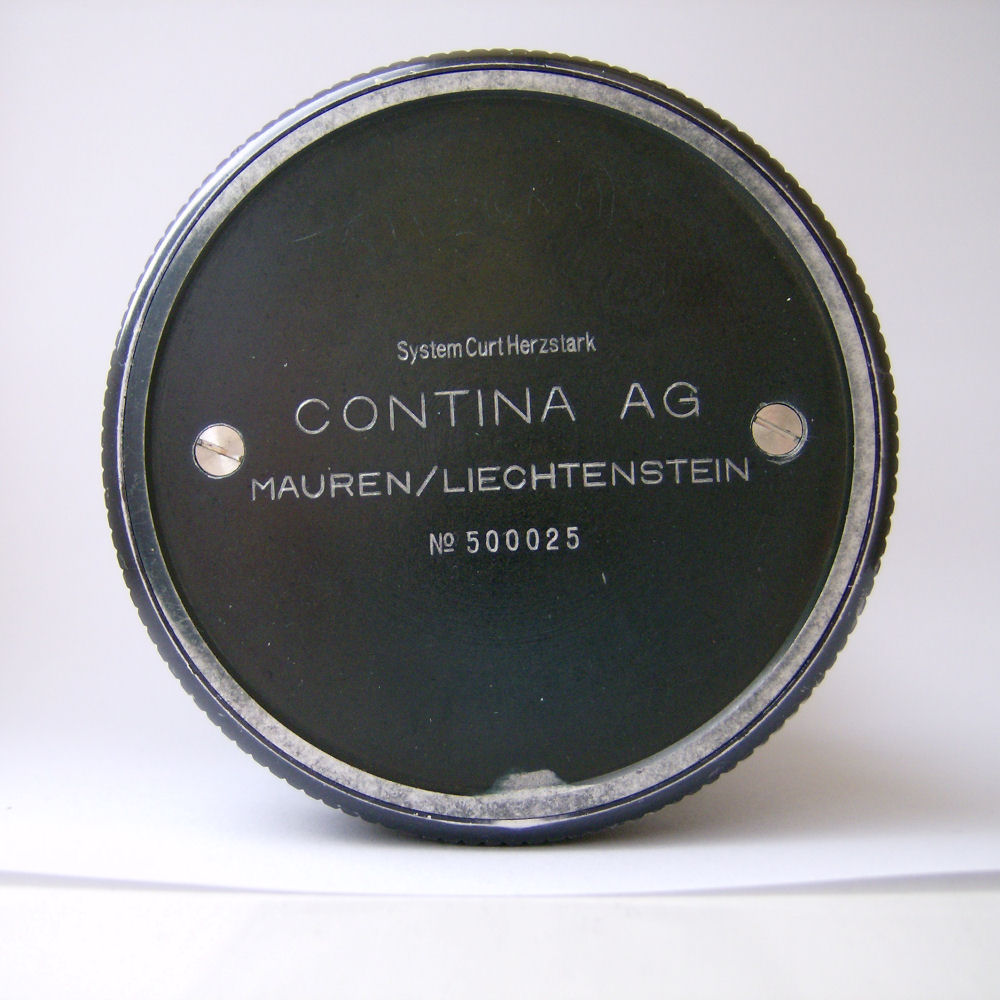
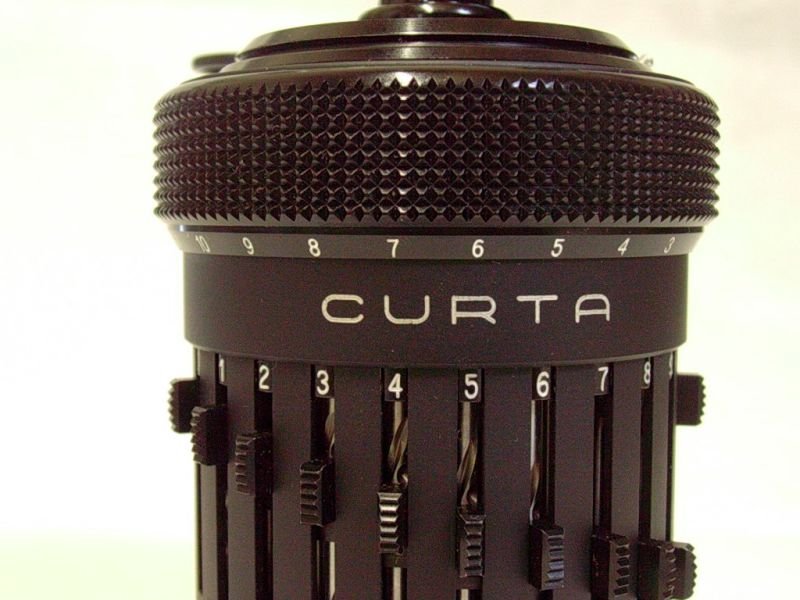
Type II (500025)
Type II (500088)

The Calculator Reference by Rick Furr (rfurr@vcalc.net)
Back to The CURTA Calculator Page
Back to The Calculator Reference